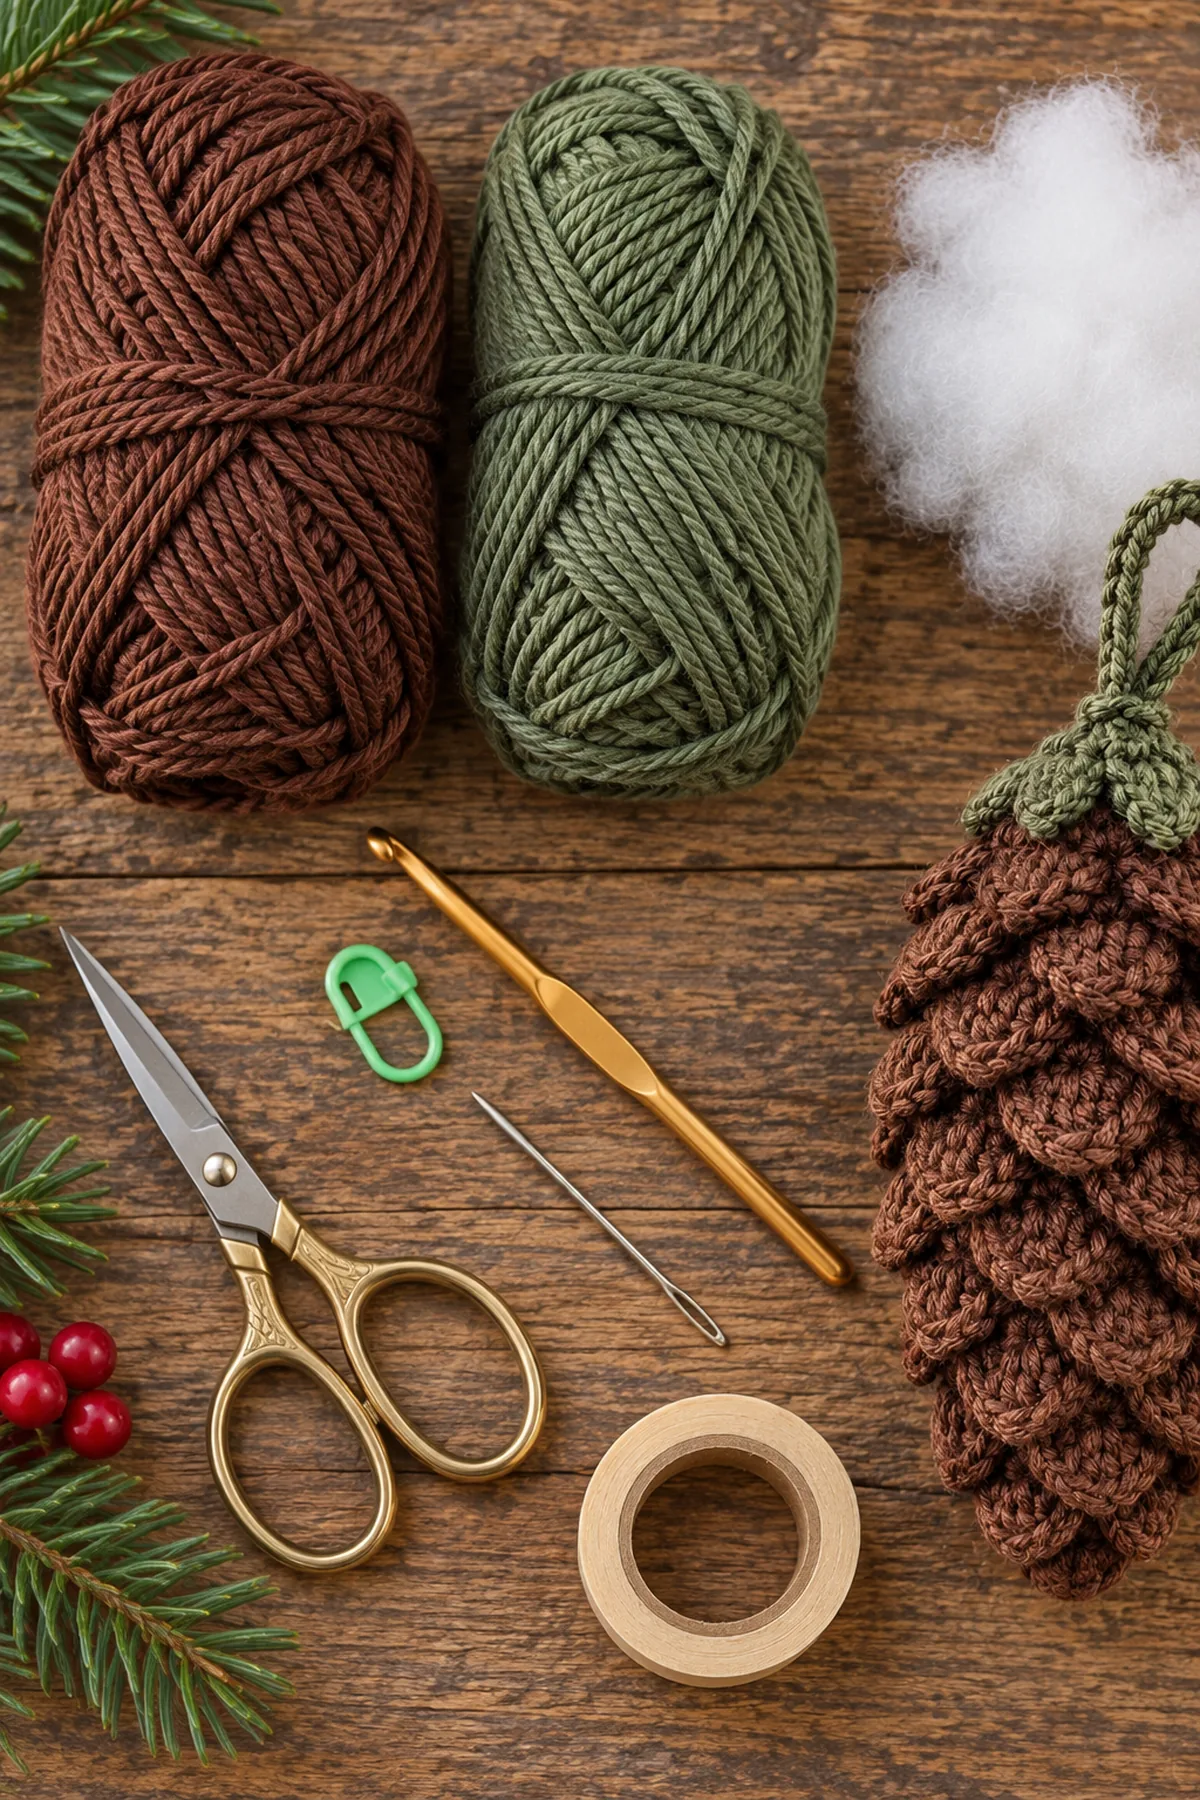
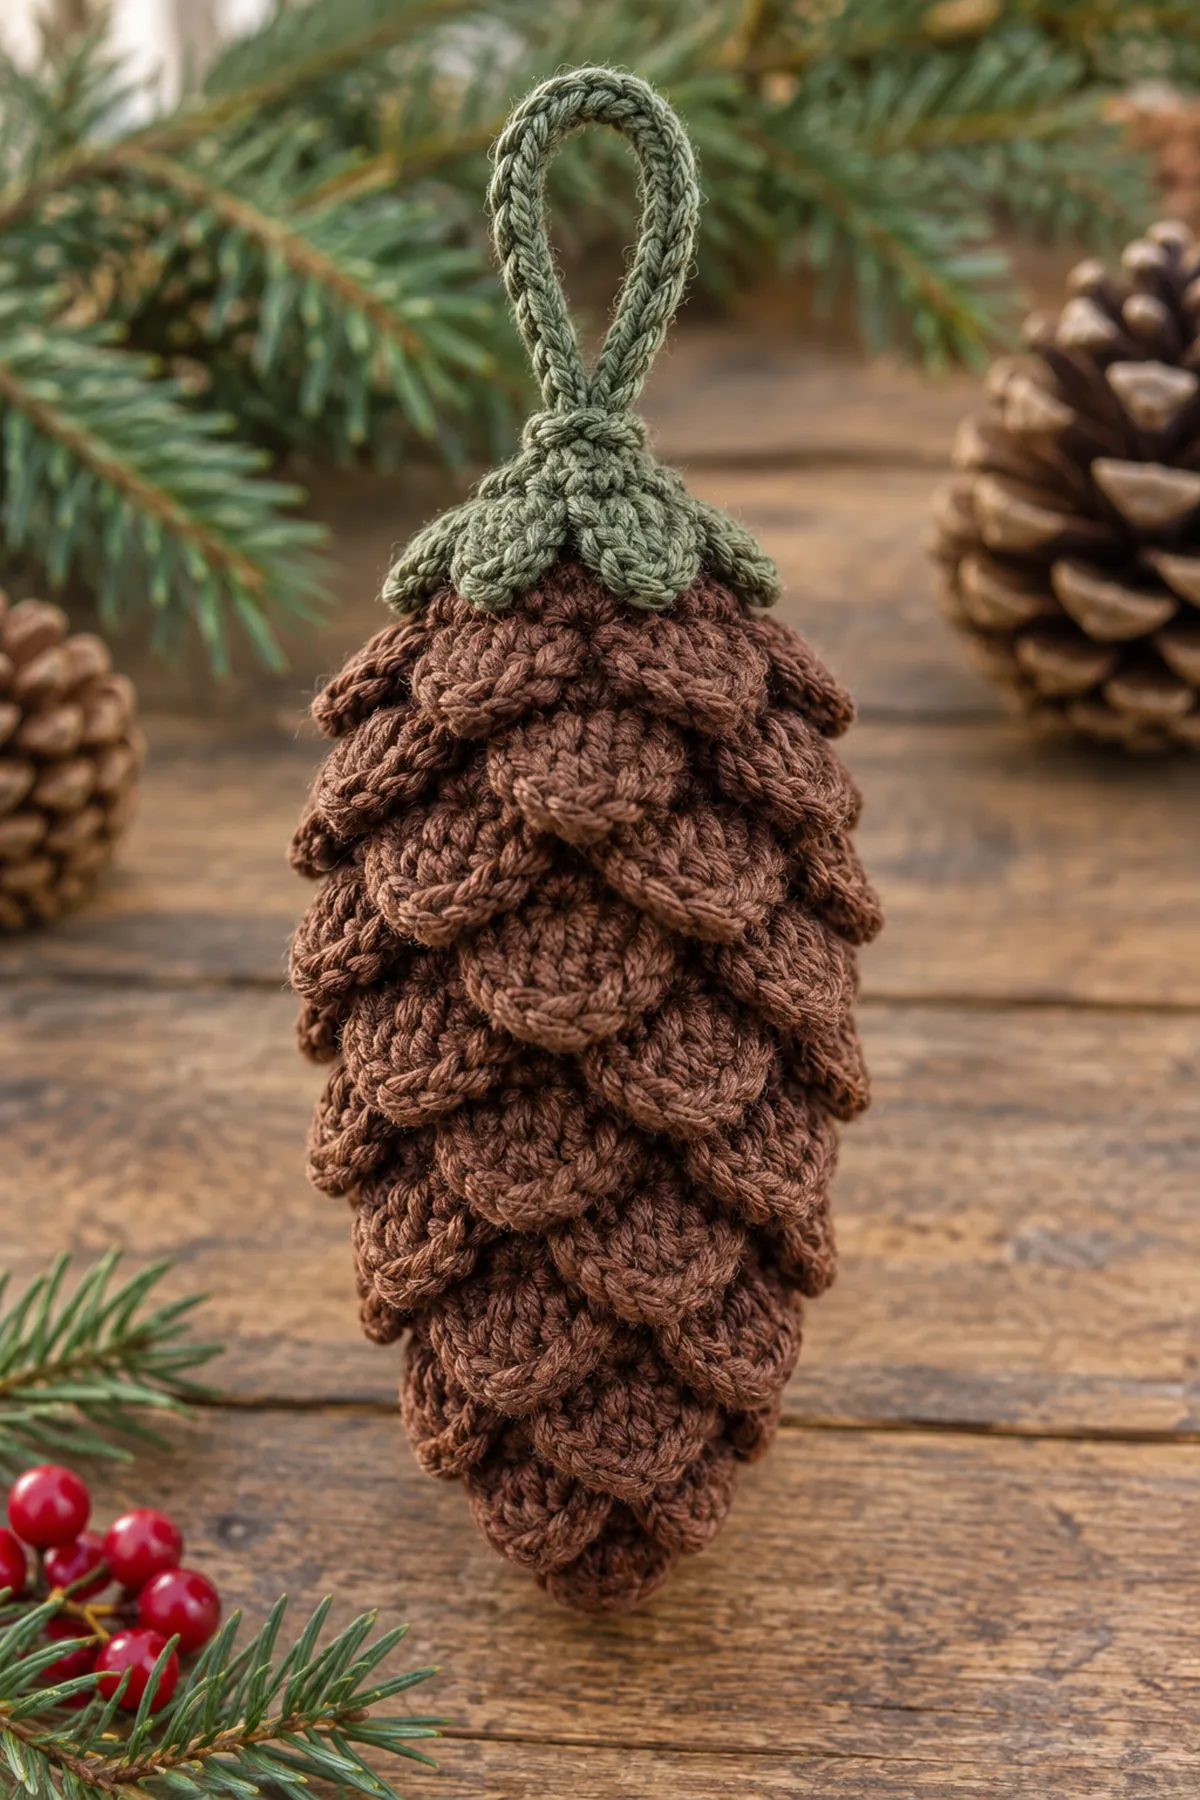
This crochet textured pine cone ornament is a softly stuffed deep-brown pine cone ornament with overlapping bobble-scale rows, a tapered bottom point, a small evergreen cap, and a sturdy hanging loop. The construction is designed specifically for the named project rather than adapted from a generic template.
The pine cone body is crocheted from its rounded top downward in continuous single-crochet rounds, expanded to 18 stitches, textured with staggered bobble scales, lightly stuffed, and tapered to a point. A small evergreen cap and reinforced chain loop finish the ornament.
Why You’ll Love This Project
The continuous rounds, bobble scales, invisible decreases, hanging loop create a distinct hanging ornament with clear checkpoints, practical structure, and strong handmade texture.
Materials
- Approximately 65 yards deep-brown worsted-weight cotton yarn
- Approximately 15 yards evergreen cotton yarn
- Approximately 0.75 ounce washable polyester fiberfill
- One locking stitch marker
- Eight inches of narrow cotton ribbon if a yarn loop is not preferred
- 3.5 mm crochet hook
- Yarn needle
- Scissors
- Tape measure
- Blocking mats and rustproof pins
Gauge, Measurements, and Planning
Make a generous swatch in the main stitch. The target gauge is six single-crochet rounds measure approximately 2 inches across; change hook size if needed before beginning the full runner.
Make and wash a gauge swatch before beginning. Measure only after the swatch is completely dry. If the stitch width differs, change hook size rather than pulling the working yarn tighter. Keep a written count at the end of every section so the finished edges remain balanced and the assembly points line up.
Abbreviations and Special Stitches
- ch: chain
- dc: double crochet
- hdc: half double crochet
- sc: single crochet
- sl st: slip stitch
- st(s): stitch(es)
- BLO: back loop only
- yo: yarn over
Special stitch guidance: Bobble scale: work five partial double crochet in one stitch and close all loops together, then single crochet in the next stitch. Invisible decrease: work through the front loops of the next two stitches and complete one single crochet.
Before You Begin
- Maintain the stated 6-stitch construction count at every checkpoint.
- Beginning chains count only where explicitly stated.
- Block components before final assembly or border work.
- Use US crochet terminology throughout.
Instructions
Crochet the Rounded Pine Cone Top
Count carefully and compare the work with the finished measurements.
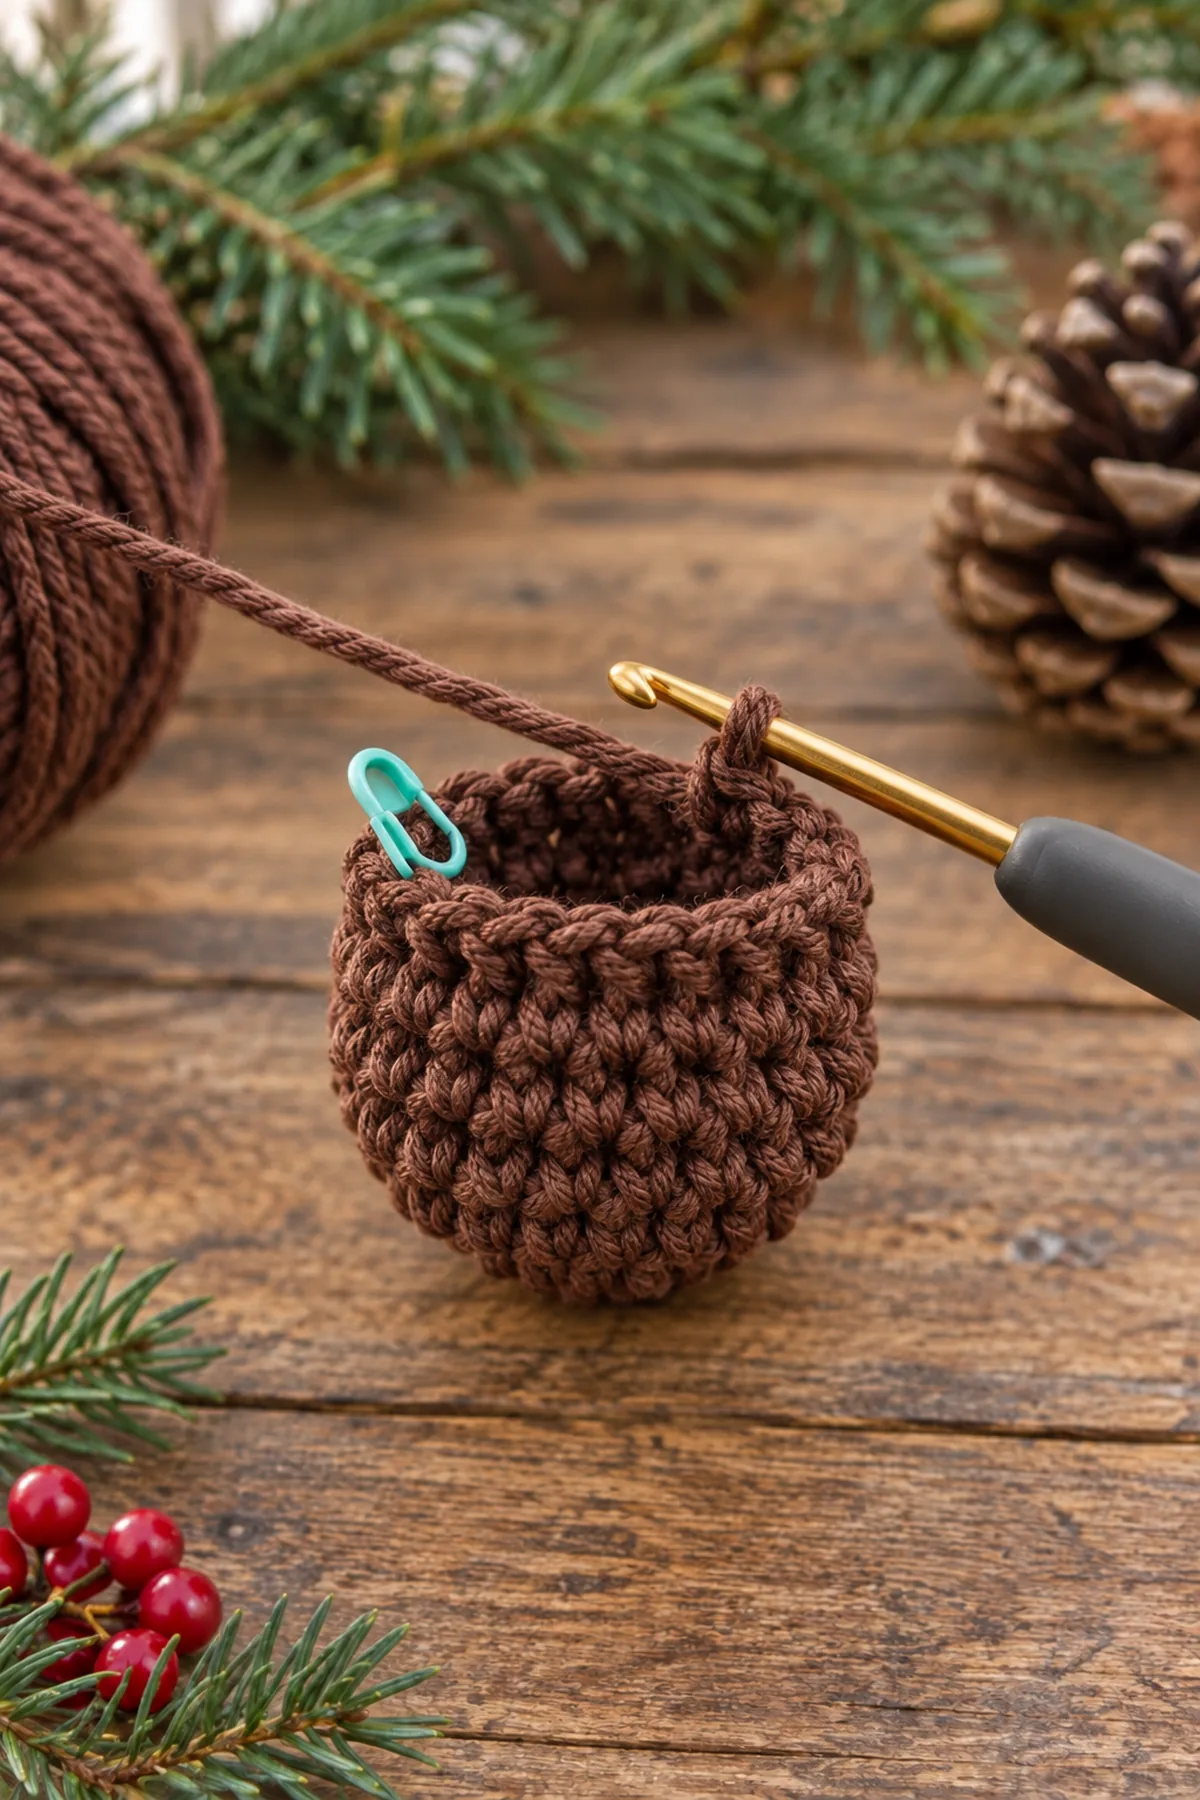
- Motif Round 1: With deep brown, make a magic ring and work 6 sc into it. Do not join. (6 sts)
- Round 2: Work 2 sc in each stitch around. (12 sts)
- Round 3: Repeat [sc in next stitch, 2 sc in next stitch] around. (18 sts)
- Round 4: Sc in each stitch around. (18 sts)
Build the Overlapping Scales
Count carefully and compare the work with the finished measurements.
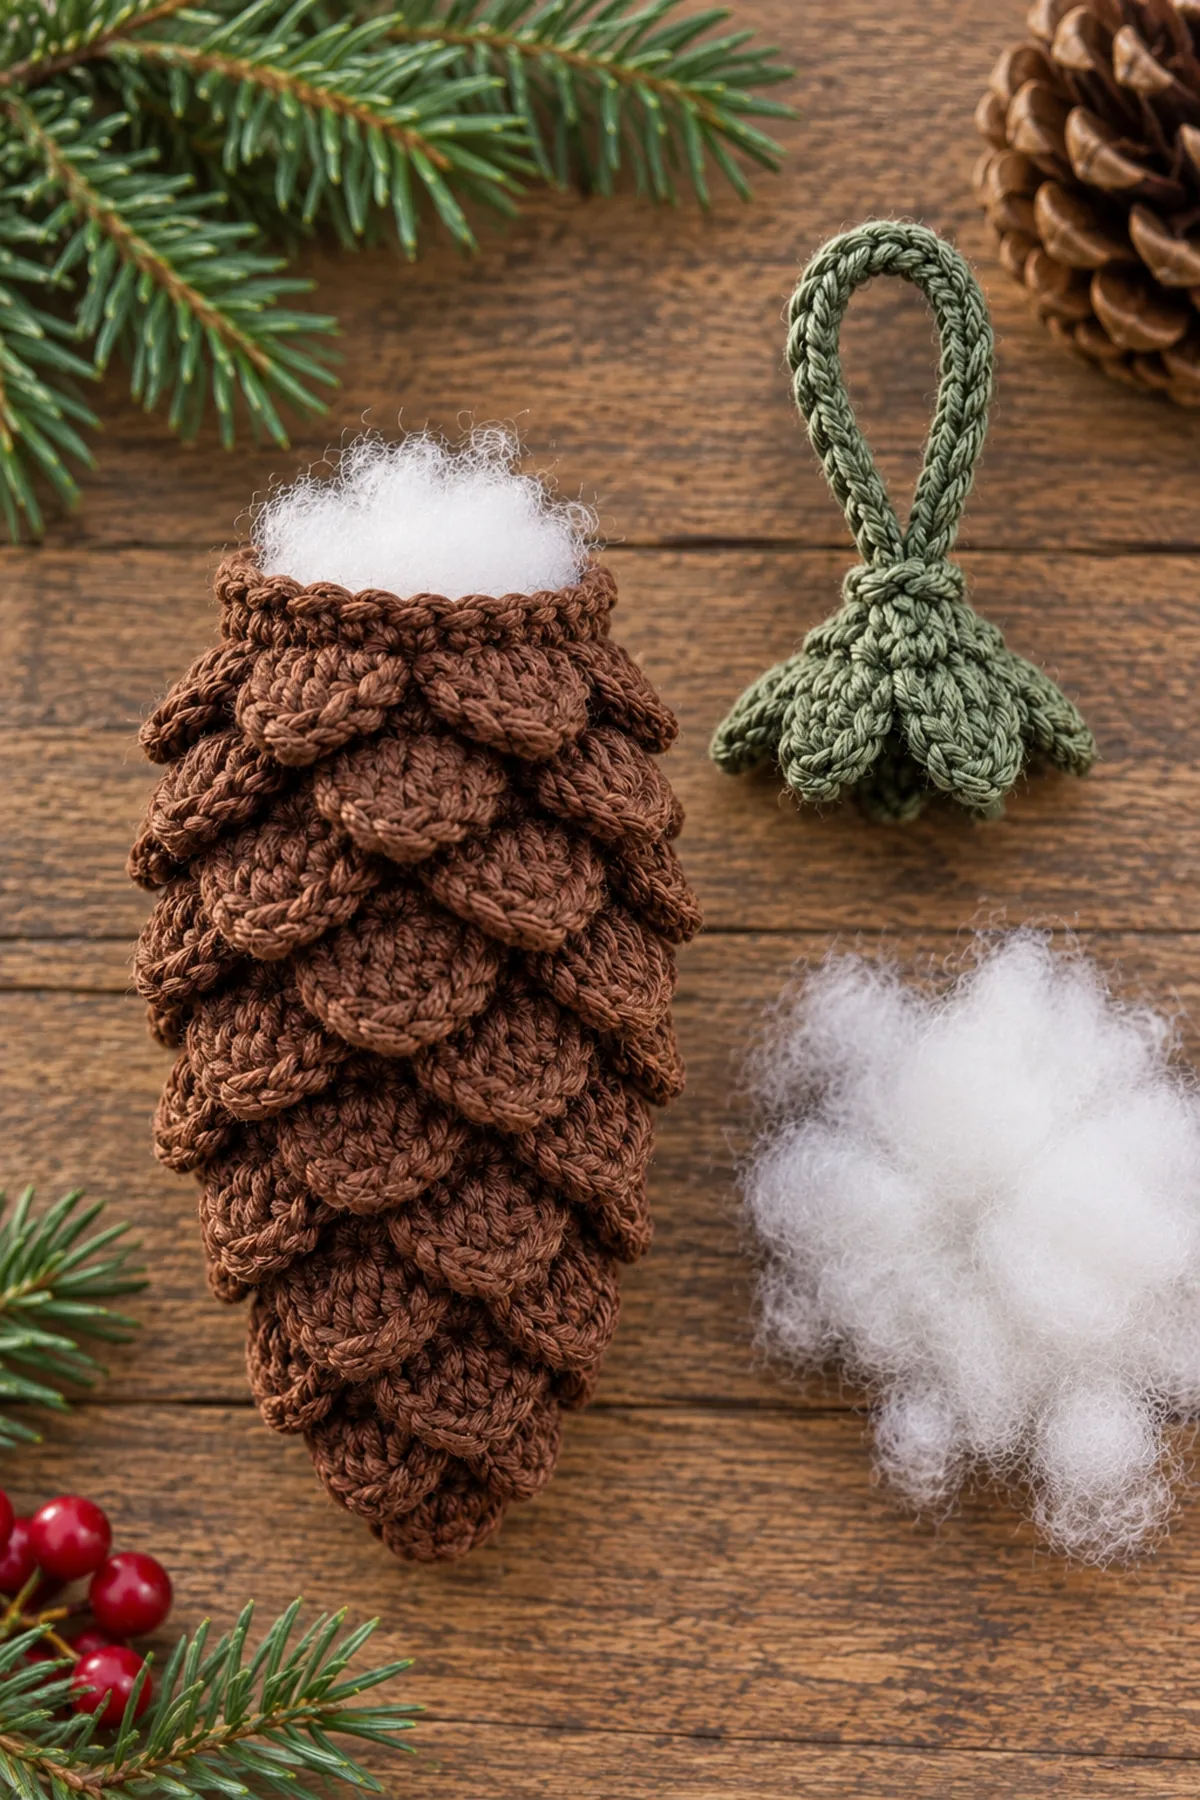
- Round 5: Repeat [bobble scale in next stitch, sc in next stitch] nine times. (18 sts)
- Round 6: Sc around, pushing every bobble to the outside. (18 sts)
- Rounds 7–10: Repeat Rounds 5 and 6 twice, staggering the bobbles between the earlier scales.
- Add small pieces of fiberfill without flattening the raised scales.
Taper the Pine Cone Point
Count carefully and compare the work with the finished measurements.
- Round 11: Repeat [sc in next stitch, invisible decrease] around. (12 sts)
- Round 12: Sc around. (12 sts)
- Round 13: Invisible decrease around. (6 sts)
- Round 14: Sc around, finish stuffing, fasten off, and close the six-stitch opening into a point.
Add the Cap and Hanging Loop
Count carefully and compare the work with the finished measurements.
- With evergreen, join around the starting ring and work six small chain-4 pointed leaves around the top.
- At the center, ch 28 and slip stitch back through every chain to create a reinforced loop.
- Secure the loop twice inside the starting ring, weave all tails, and shape the ornament to 4.5 inches tall.
Assembly and Shaping
Follow the project-specific assembly sequence for textured stuffed pine cone ornament. Pin or mark every component before joining and keep the finished layout balanced.
Lay every component on a flat surface before joining. Match the marked centers first, then divide each remaining edge into equal sections. Work through both layers with consistent tension and pause after each section to check that the fabric lies flat. This measured approach prevents twisting and keeps decorative details facing the intended direction.
Finishing
- Weave every tail through matching stitches and reverse direction once.
- Inspect all joins, motif anchors, and border corners.
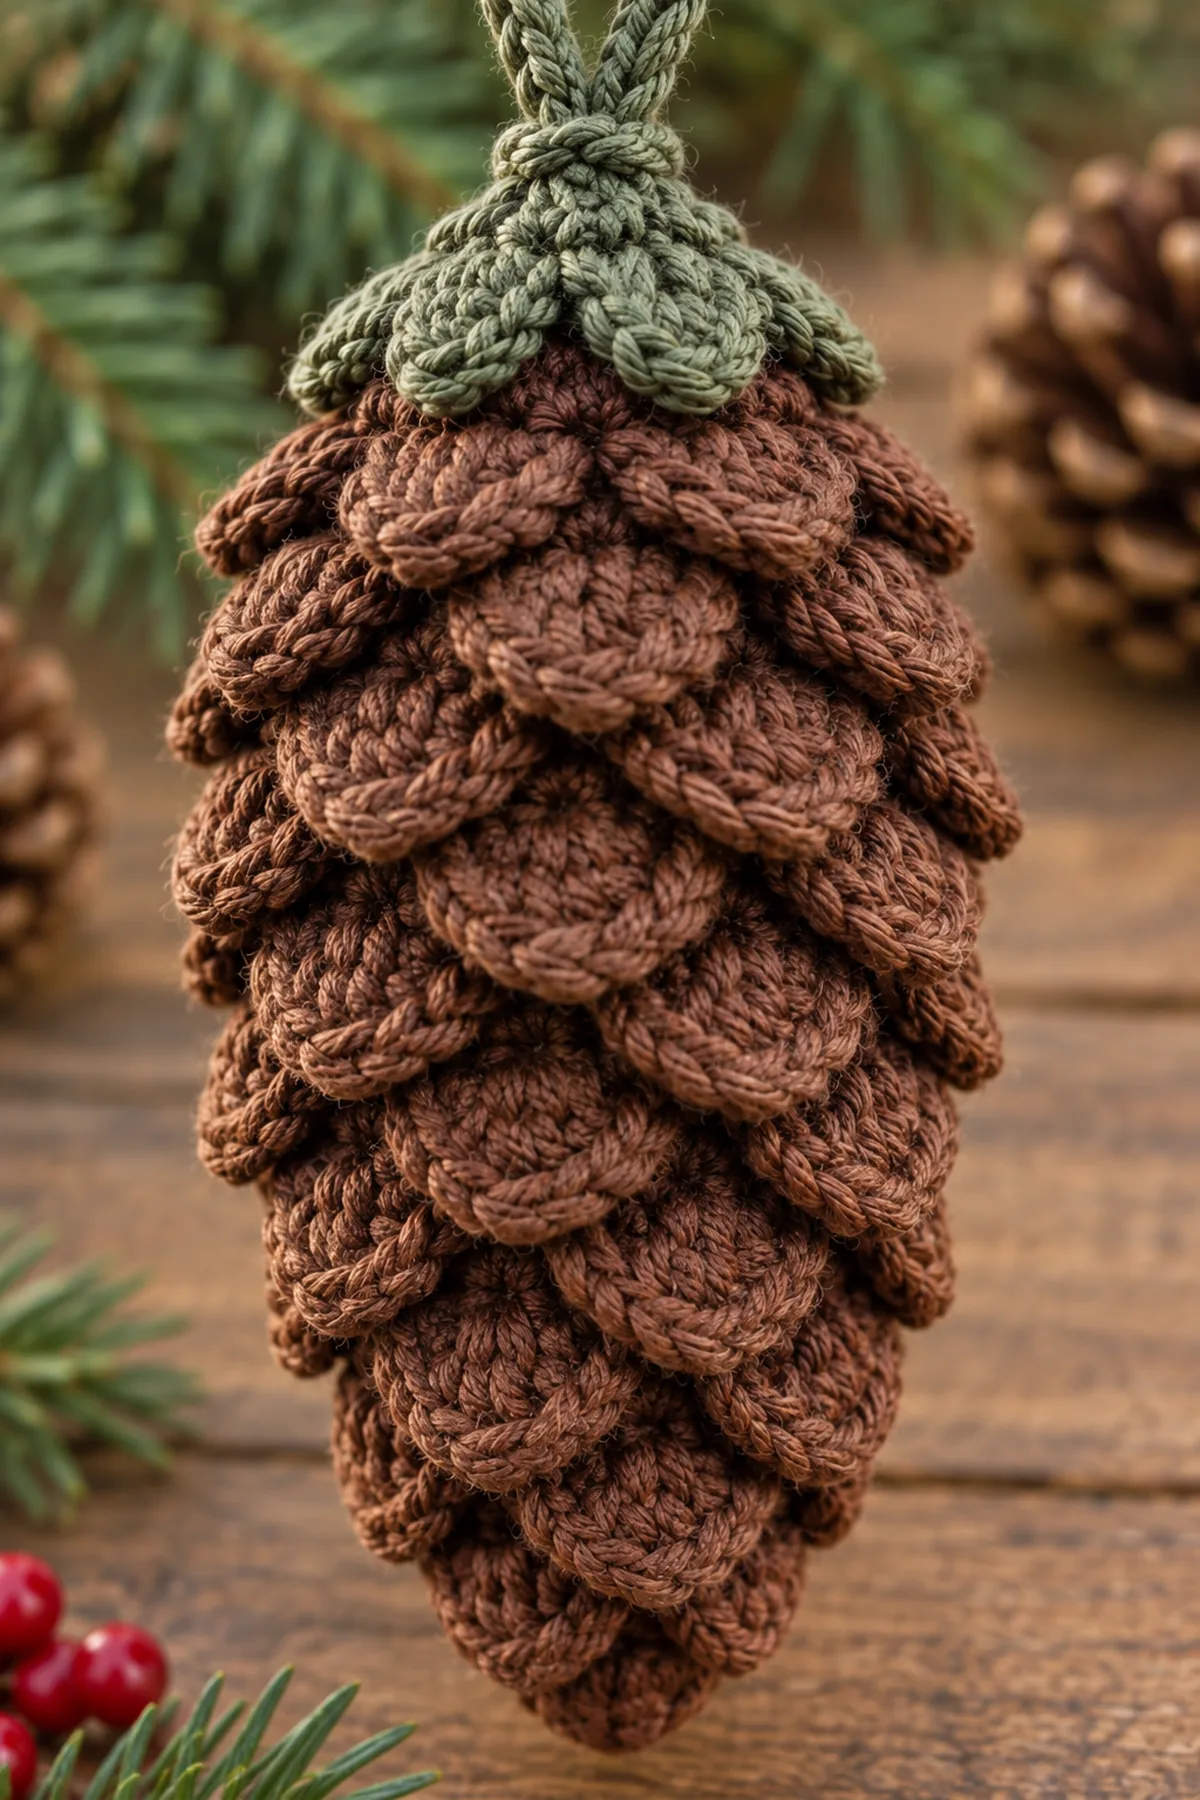
- Block to 4.5 inches tall by 3 inches wide, excluding the loop.
- Allow the runner to dry completely before styling.
For a polished result, weave each tail through several same-color stitches, reverse direction once, and trim only after the fabric has been gently stretched. Block to the listed dimensions without flattening textured stitches. Inspect joins, borders, straps, and decorative pieces before the project is used or gifted.
Helpful Tips
- Use locking markers at every construction checkpoint.
- Record row and motif counts as you work.
- Keep joins and color changes relaxed enough to lie flat.
- Photograph the complete layout before final assembly.
Good lighting and a contrasting stitch marker make counting much easier. If a section looks uneven, compare the current count with the previous checkpoint before continuing. Fixing one missed stitch early is faster than compensating later, and it preserves the measurements used by the assembly instructions.
Frequently Asked Questions
Can I omit the stuffing?
Yes, but the ornament will be flatter and the overlapping scales will be less prominent.
Can I use plush yarn?
Yes. Use a larger hook and reduce the number of bobble rows if the ornament becomes too heavy.
How do I keep the scales visible?
Push each bobble outward as it is completed and add stuffing in small pieces.
Conclusion
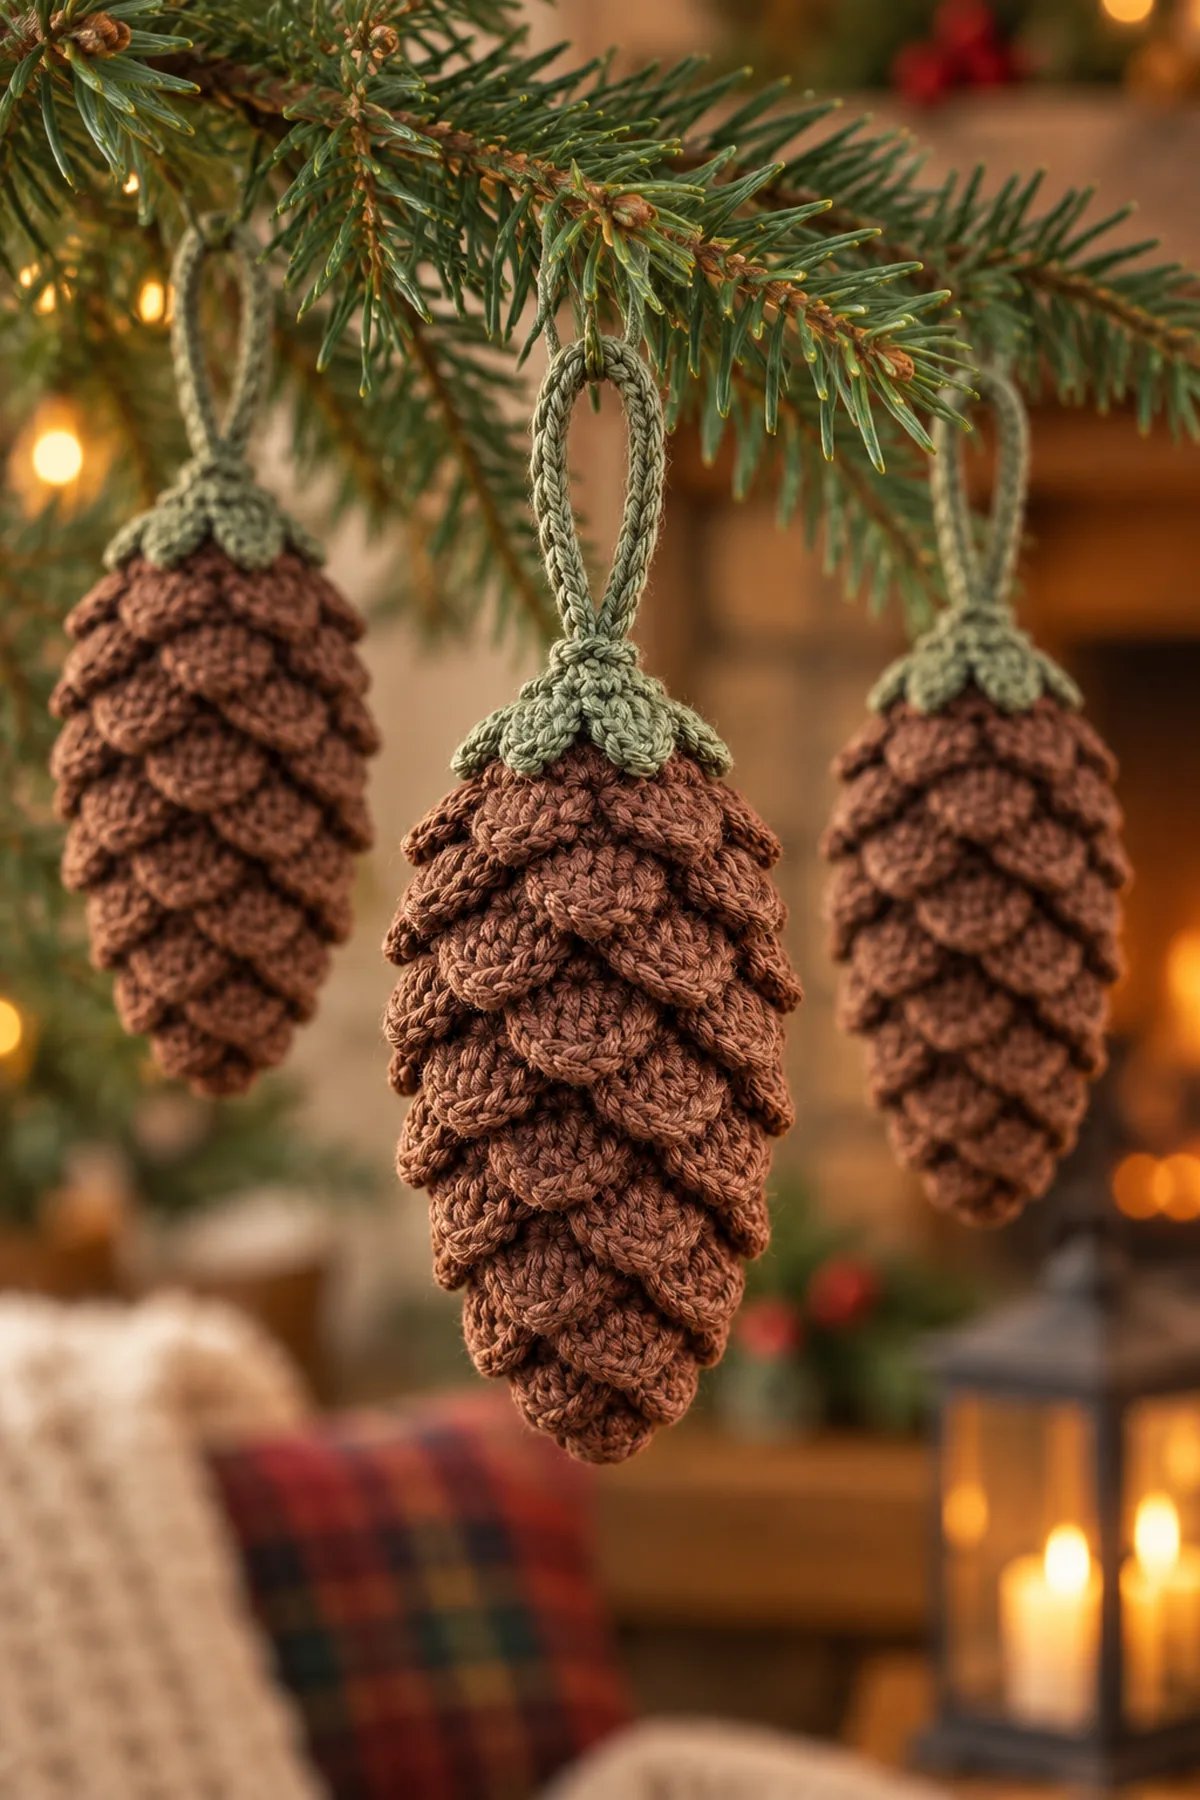
The finished crochet textured pine cone ornament showcases continuous rounds, bobble scales, invisible decreases, hanging loop in a construction that matches the project from foundation through finishing.
Printable Crochet Pattern Card
Project: Crochet Textured Pine Cone Ornament
Skill level: Easy Intermediate Hook: 3.5 mm Yarn: Worsted
Finished size: Approximately 4.5 inches tall by 3 inches wide, excluding the loop
Card Materials
- Approximately 65 yards deep-brown worsted-weight cotton yarn
- Approximately 15 yards evergreen cotton yarn
- Approximately 0.75 ounce washable polyester fiberfill
- One locking stitch marker
- Eight inches of narrow cotton ribbon if a yarn loop is not preferred
- 3.5 mm crochet hook
- Yarn needle
- Scissors
- Tape measure
- Blocking mats and rustproof pins
Card Instructions
- Crochet the Rounded Pine Cone Top: Motif Round 1: With deep brown, make a magic ring and work 6 sc into it. Do not join. (6 sts) Round 2: Work 2 sc in each stitch around. (12 sts) Round 3: Repeat [sc in next stitch, 2 sc in next stitch] around. (18 sts) Round 4: Sc in each stitch around. (18 sts)
- Build the Overlapping Scales: Round 5: Repeat [bobble scale in next stitch, sc in next stitch] nine times. (18 sts) Round 6: Sc around, pushing every bobble to the outside. (18 sts) Rounds 7–10: Repeat Rounds 5 and 6 twice, staggering the bobbles between the earlier scales. Add small pieces of fiberfill without flattening the raised scales.
- Taper the Pine Cone Point: Round 11: Repeat [sc in next stitch, invisible decrease] around. (12 sts) Round 12: Sc around. (12 sts) Round 13: Invisible decrease around. (6 sts) Round 14: Sc around, finish stuffing, fasten off, and close the six-stitch opening into a point.
- Add the Cap and Hanging Loop: With evergreen, join around the starting ring and work six small chain-4 pointed leaves around the top. At the center, ch 28 and slip stitch back through every chain to create a reinforced loop. Secure the loop twice inside the starting ring, weave all tails, and shape the ornament to 4.5 inches tall.
Finish: Check every count, weave in all ends, block to measurement, and inspect each join.