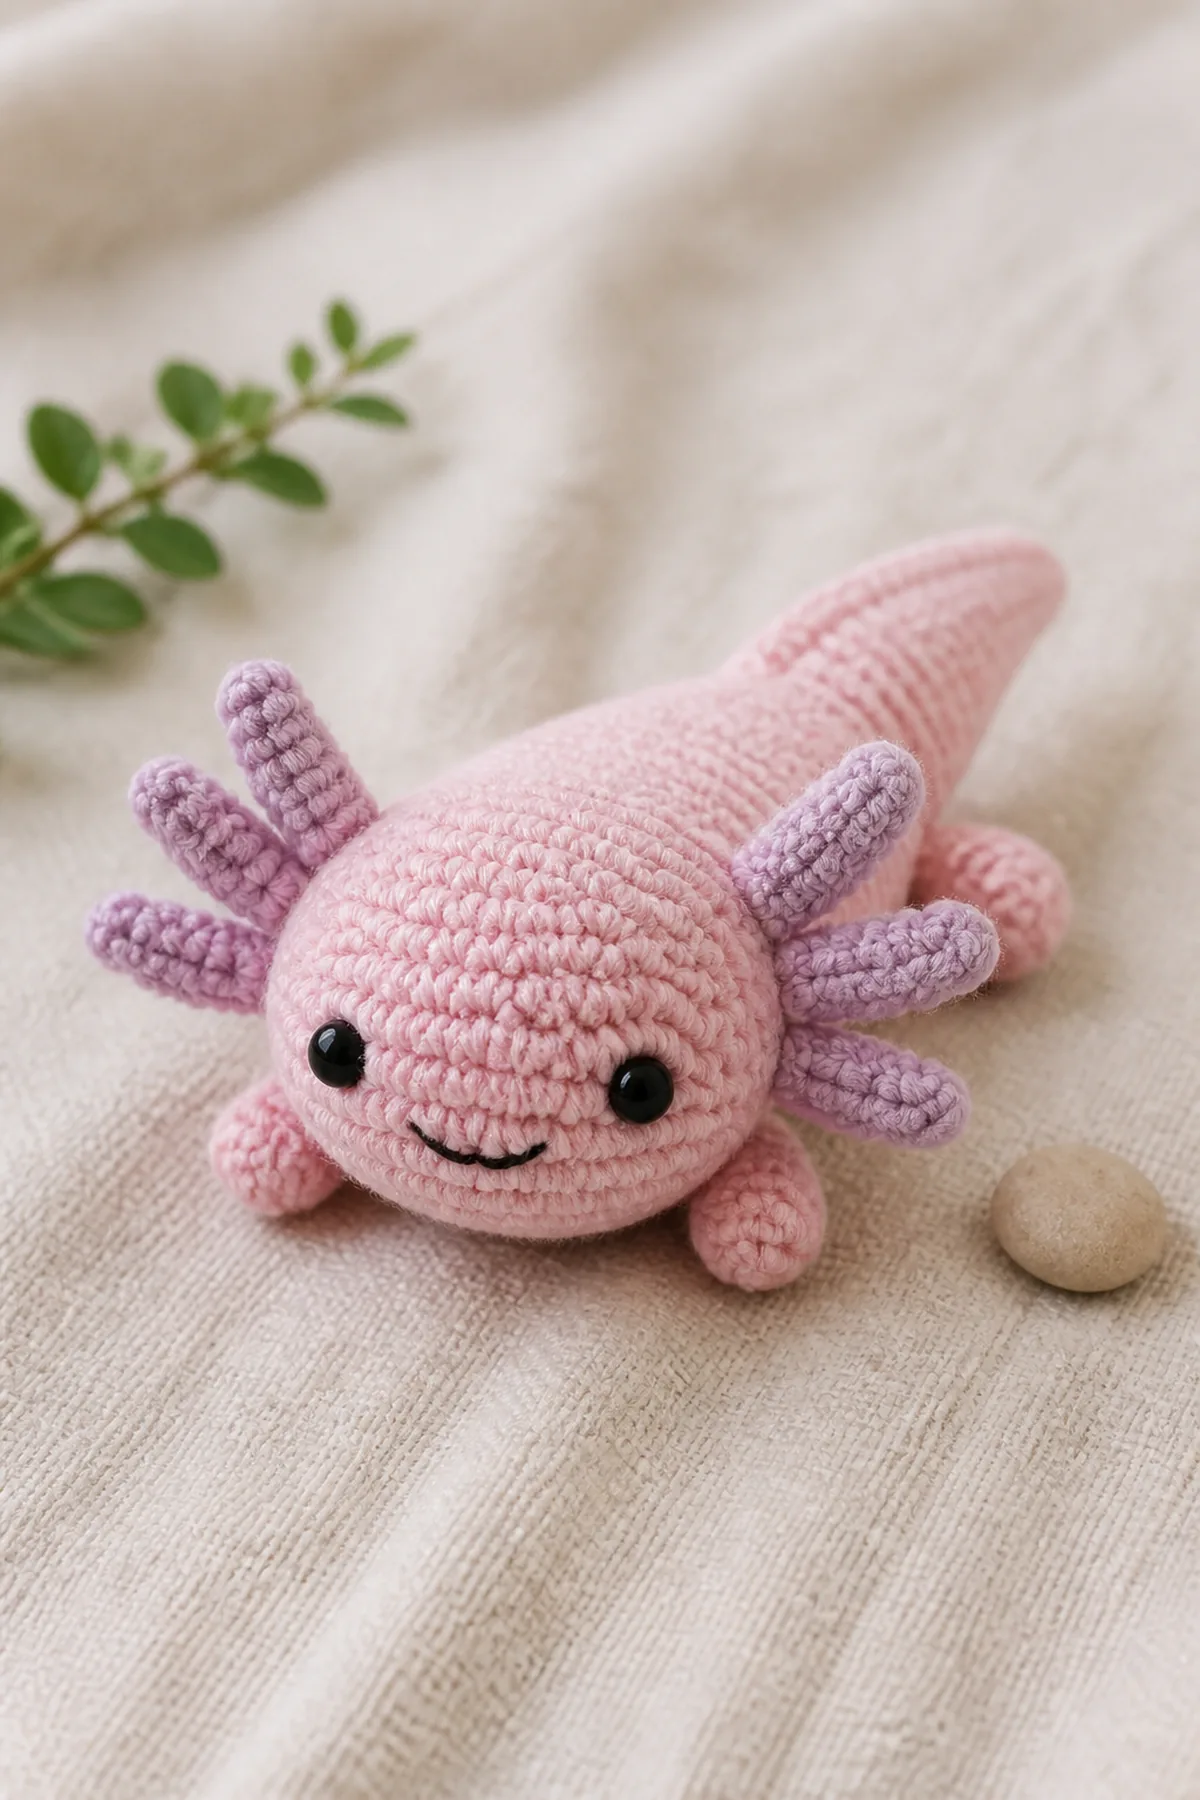
This no-sew mini crochet axolotl turns a few simple amigurumi skills into an irresistibly cheerful pocket-size friend. The rounded head, plump body, four bobble limbs, and tapered tail are worked as one continuous piece. Six lavender gills are surface-crocheted directly through the head stitches, so there are no tiny appendages to align or sew.
Using worsted yarn and a 3.5 mm hook, the finished axolotl measures approximately 7 inches (18 cm) long. Blush pink and lavender create a soft aquatic palette, but mint, peach, blue, and speckled yarn also work beautifully. The exact round counts shape the toy, while well-marked limb and gill positions keep both sides balanced.
Why You’ll Love This No-Sew Axolotl
Traditional amigurumi often leaves a pile of small pieces to attach. This pattern avoids that finishing step. Each limb is a bobble worked in place while the body round is active. The gills begin by pulling a fresh loop around a head post, then grow from short chains that return directly to the fabric. The only needlework is a tiny embroidered smile and ordinary end weaving.
The project is an approachable way to practice increases, invisible decreases, continuous rounds, and controlled stuffing. It is also visually strong enough for gifts, desk companions, market displays, and themed nursery shelves. If the toy is intended for a young child, substitute embroidered eyes for the plastic safety eyes.
Pattern Details
- Skill level: Easy
- Terminology: US crochet terms
- Finished size: Approximately 7 in (18 cm) long
- Hook: 3.5 mm (E-4)
- Gauge: Not critical; stitches must contain stuffing
- Estimated time: 2–3 hours
- Construction: One continuous spiral from head through tail, with limbs and gills crocheted in place
Materials
- 90 yd (82 m) worsted-weight yarn in blush pink
- 15 yd (14 m) worsted-weight yarn in lavender
- 3.5 mm (E-4) crochet hook
- Two 8 mm safety eyes with washers
- Small amount of black embroidery thread
- Polyester fiberfill
- Stitch marker, yarn needle, and scissors
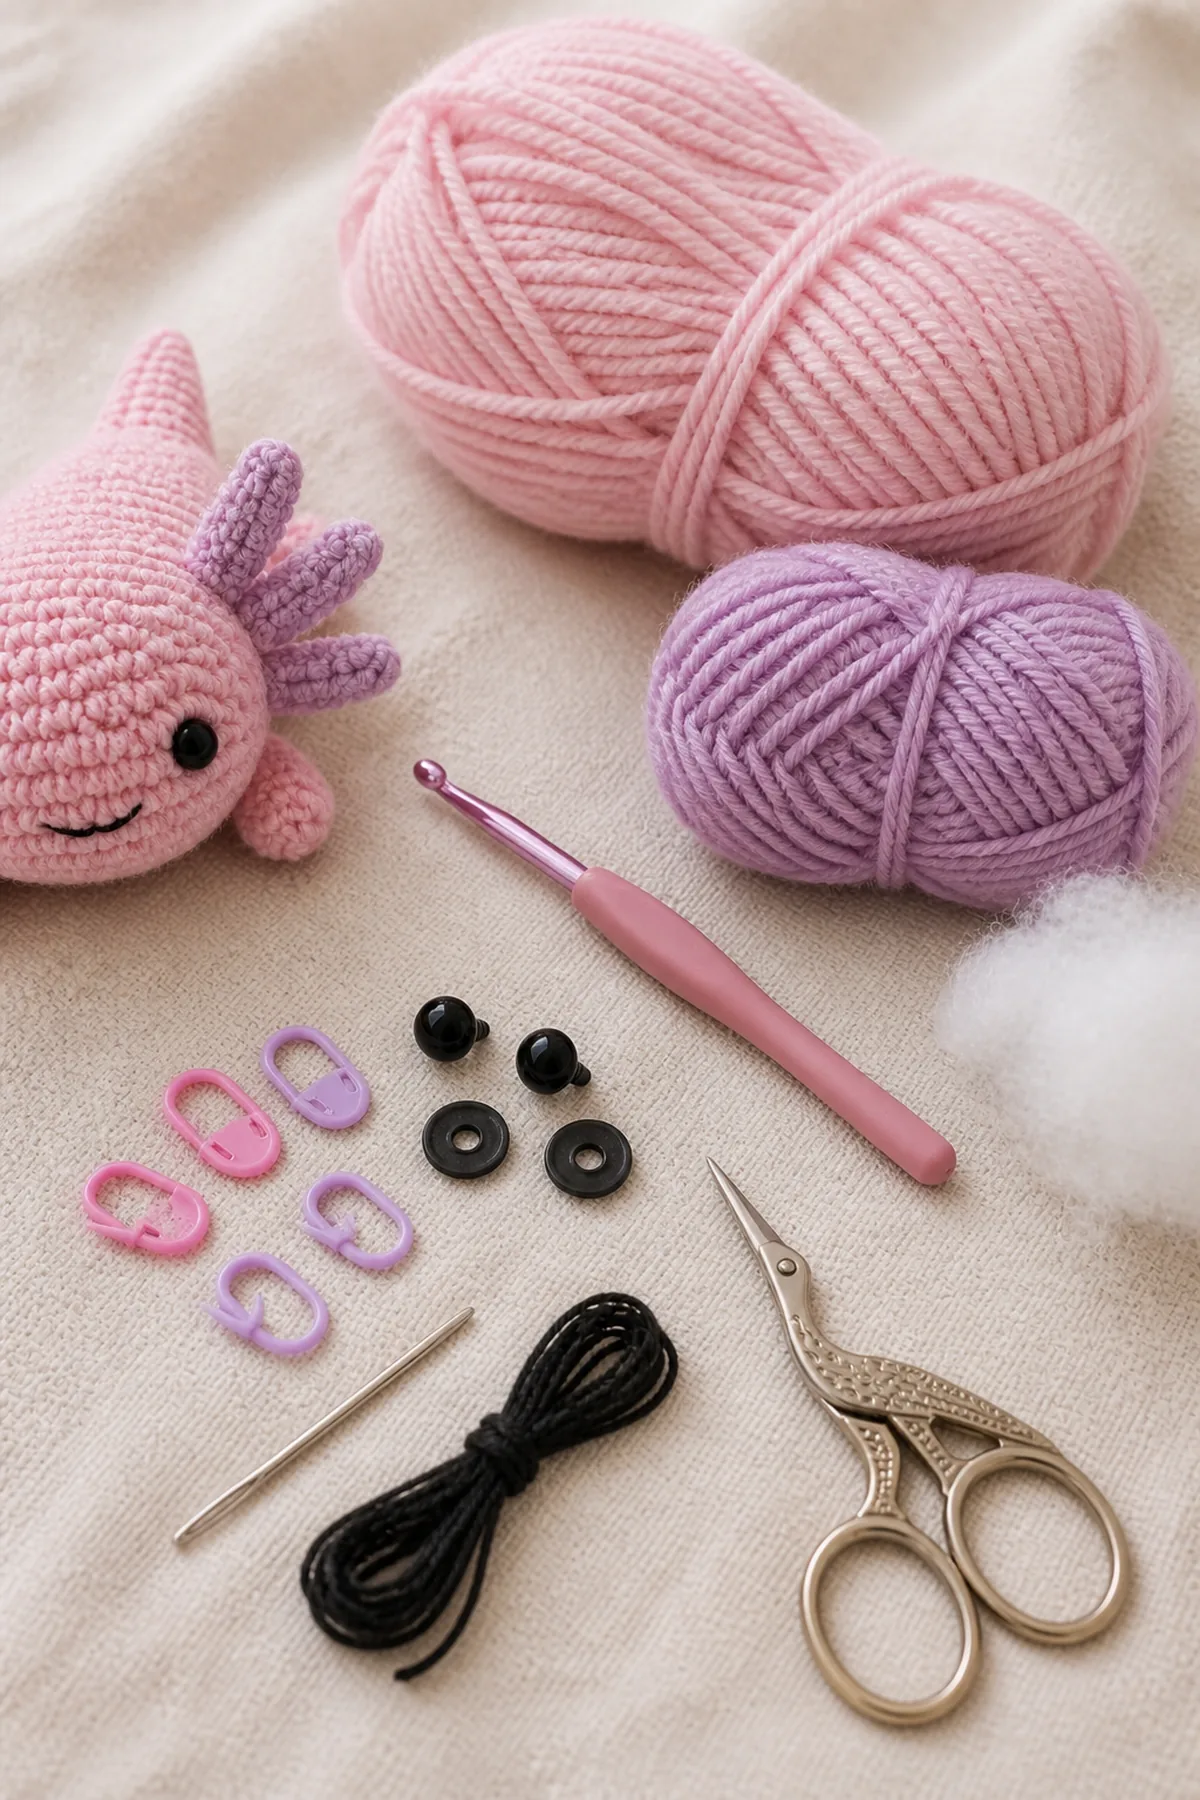
Choose smooth yarn for the clearest stitch definition. A smaller-than-recommended hook makes a dense amigurumi fabric. Test the fabric by stretching a small swatch; if you can easily see through the gaps, move down another hook size.
Abbreviations and Special Stitches
- bobble: five-double-crochet bobble
- ch: chain
- dec: invisible single crochet decrease
- inc: two single crochets in one stitch
- rnd: round
- sc: single crochet
- sl st: slip stitch
- st(s): stitch(es)
Five-double-crochet bobble: In the indicated stitch, make five incomplete double crochets, leaving the last loop of each on the hook. Yarn over and draw through all six loops. Push the bobble toward the outside of the toy. One bobble consumes one body stitch and counts as one body stitch.
Invisible decrease: Insert the hook through the front loop of each of the next two stitches. Yarn over and draw through both front loops, then yarn over and draw through the final two loops.
Before You Begin
Work the pink body in a continuous spiral. Do not join or turn. Place the marker in the first stitch of each round and move it upward before beginning the next round. Read every bracketed repeat completely before crocheting. Stuff in small pieces and keep the tail more lightly filled than the head.
Complete Crochet Instructions
Rounds 1–5: Shape the Head
Rnd 1: With blush pink, work 6 sc in a magic ring. (6 sts)
Rnd 2: Inc in each stitch around. (12 sts)
Rnd 3: Repeat [sc in next stitch, inc] 6 times. (18 sts)
Rnd 4: Repeat [sc in next 2 stitches, inc] 6 times. (24 sts)
Rnd 5: Repeat [sc in next 3 stitches, inc] 6 times. (30 sts)
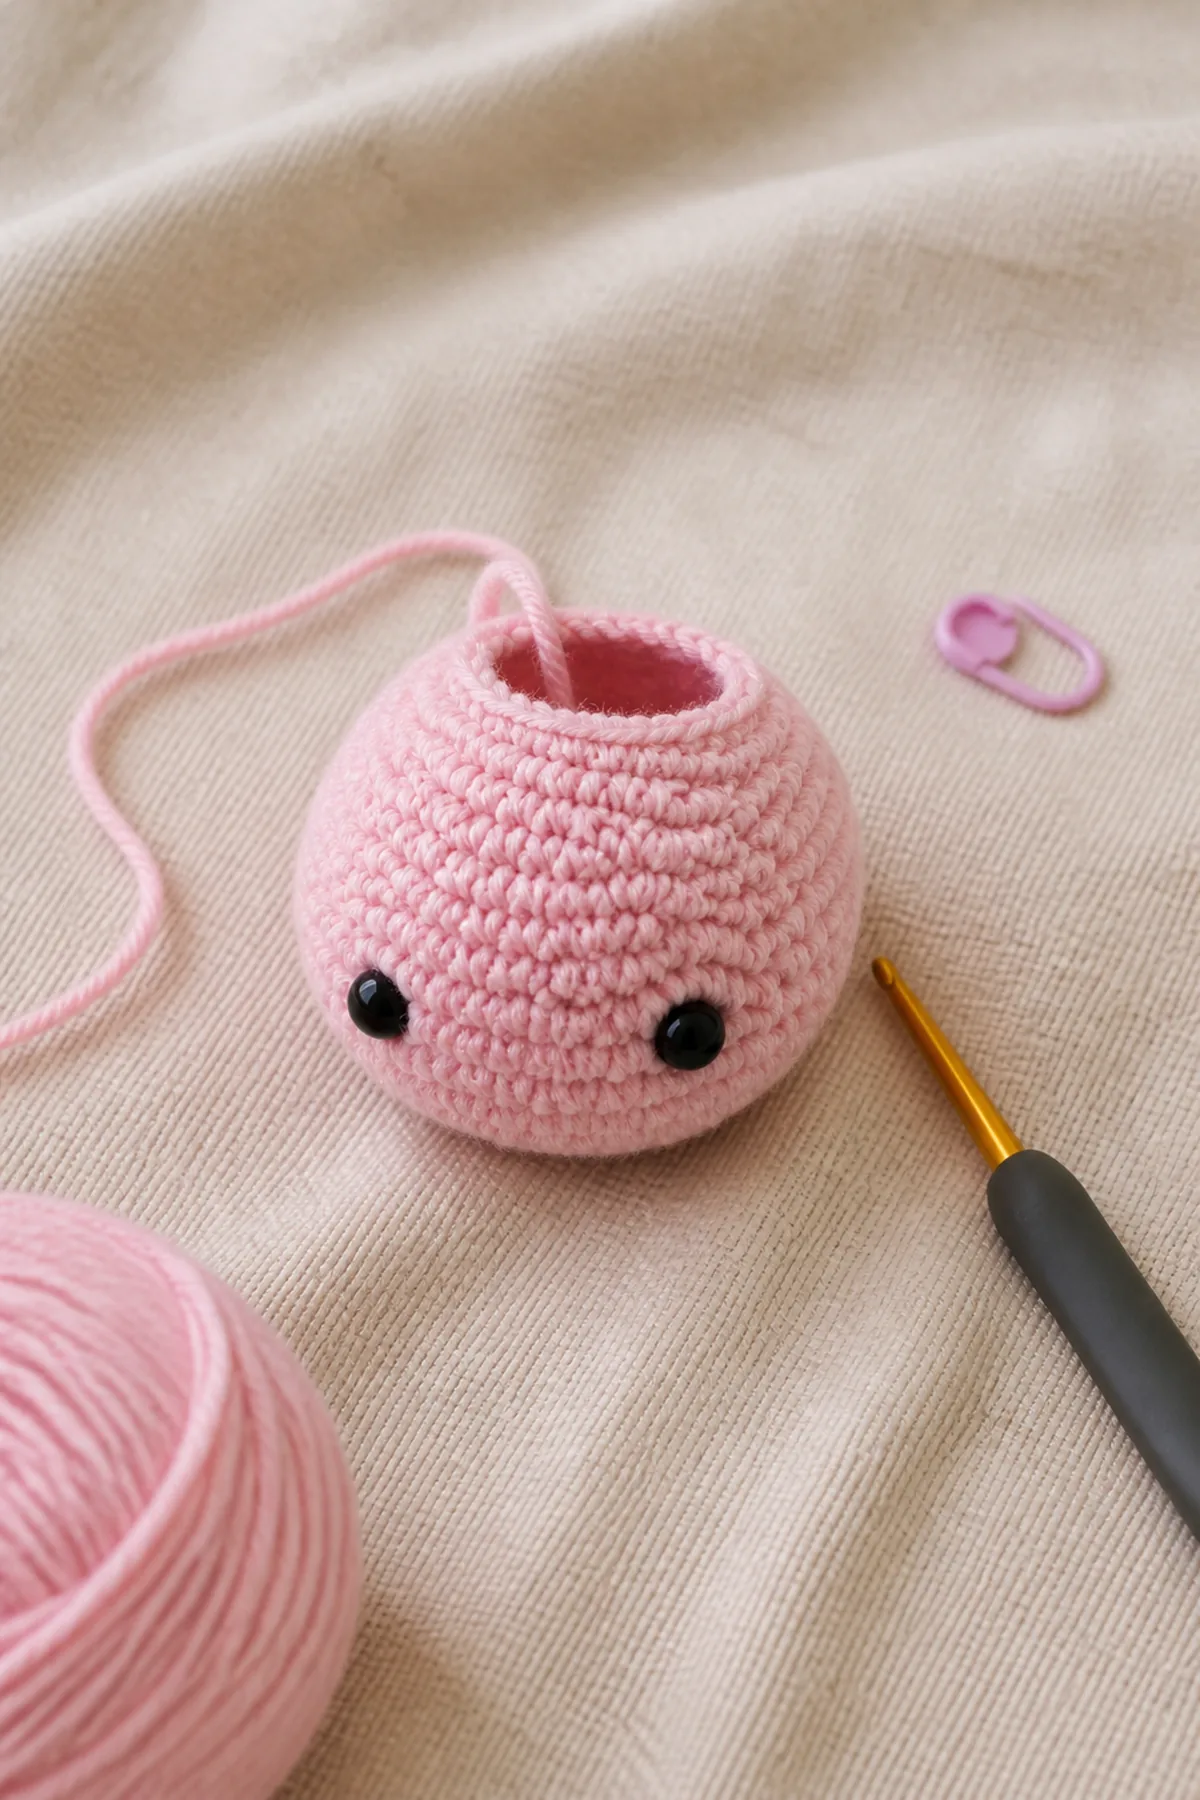
The first five rounds should form a shallow bowl. Tighten the magic ring before adding stuffing. The increase points move outward in six even sections; if the fabric develops a sharp corner, vary your tension slightly while preserving all counts.
Rounds 6–10: Add the Face and Narrow the Neck
Rnds 6–8: Sc in each stitch around. (30 sts)
Place the safety eyes between Rounds 6 and 7, seven stitches apart. Look from the front and confirm that the marker sits at the back. Press both washers firmly onto the eye posts before the opening narrows.
Rnd 9: Repeat [sc in next 3 stitches, dec] 6 times. (24 sts)
Rnd 10: Repeat [sc in next 2 stitches, dec] 6 times. (18 sts)
Fill the head until it is round but not rigid. Keep the neck opening clear so the hook can enter every stitch of Round 11.
Rounds 11–16: Crochet the Body and Limbs
Rnd 11: Repeat [sc in next 2 stitches, inc] 6 times. (24 sts)
Rnd 12: Repeat [sc in next 3 stitches, inc] 6 times. (30 sts)
Rnd 13: Sc in each stitch around. (30 sts)
Rnd 14: Sc in next 5 stitches, bobble in next stitch, sc in next 12 stitches, bobble in next stitch, and sc in final 11 stitches. Push both front-limb bobbles outward. (30 sts)
Rnd 15: Sc in each stitch around. (30 sts)
Rnd 16: Repeat the Round 14 placement to create two rear limbs. Push both bobbles outward. (30 sts)
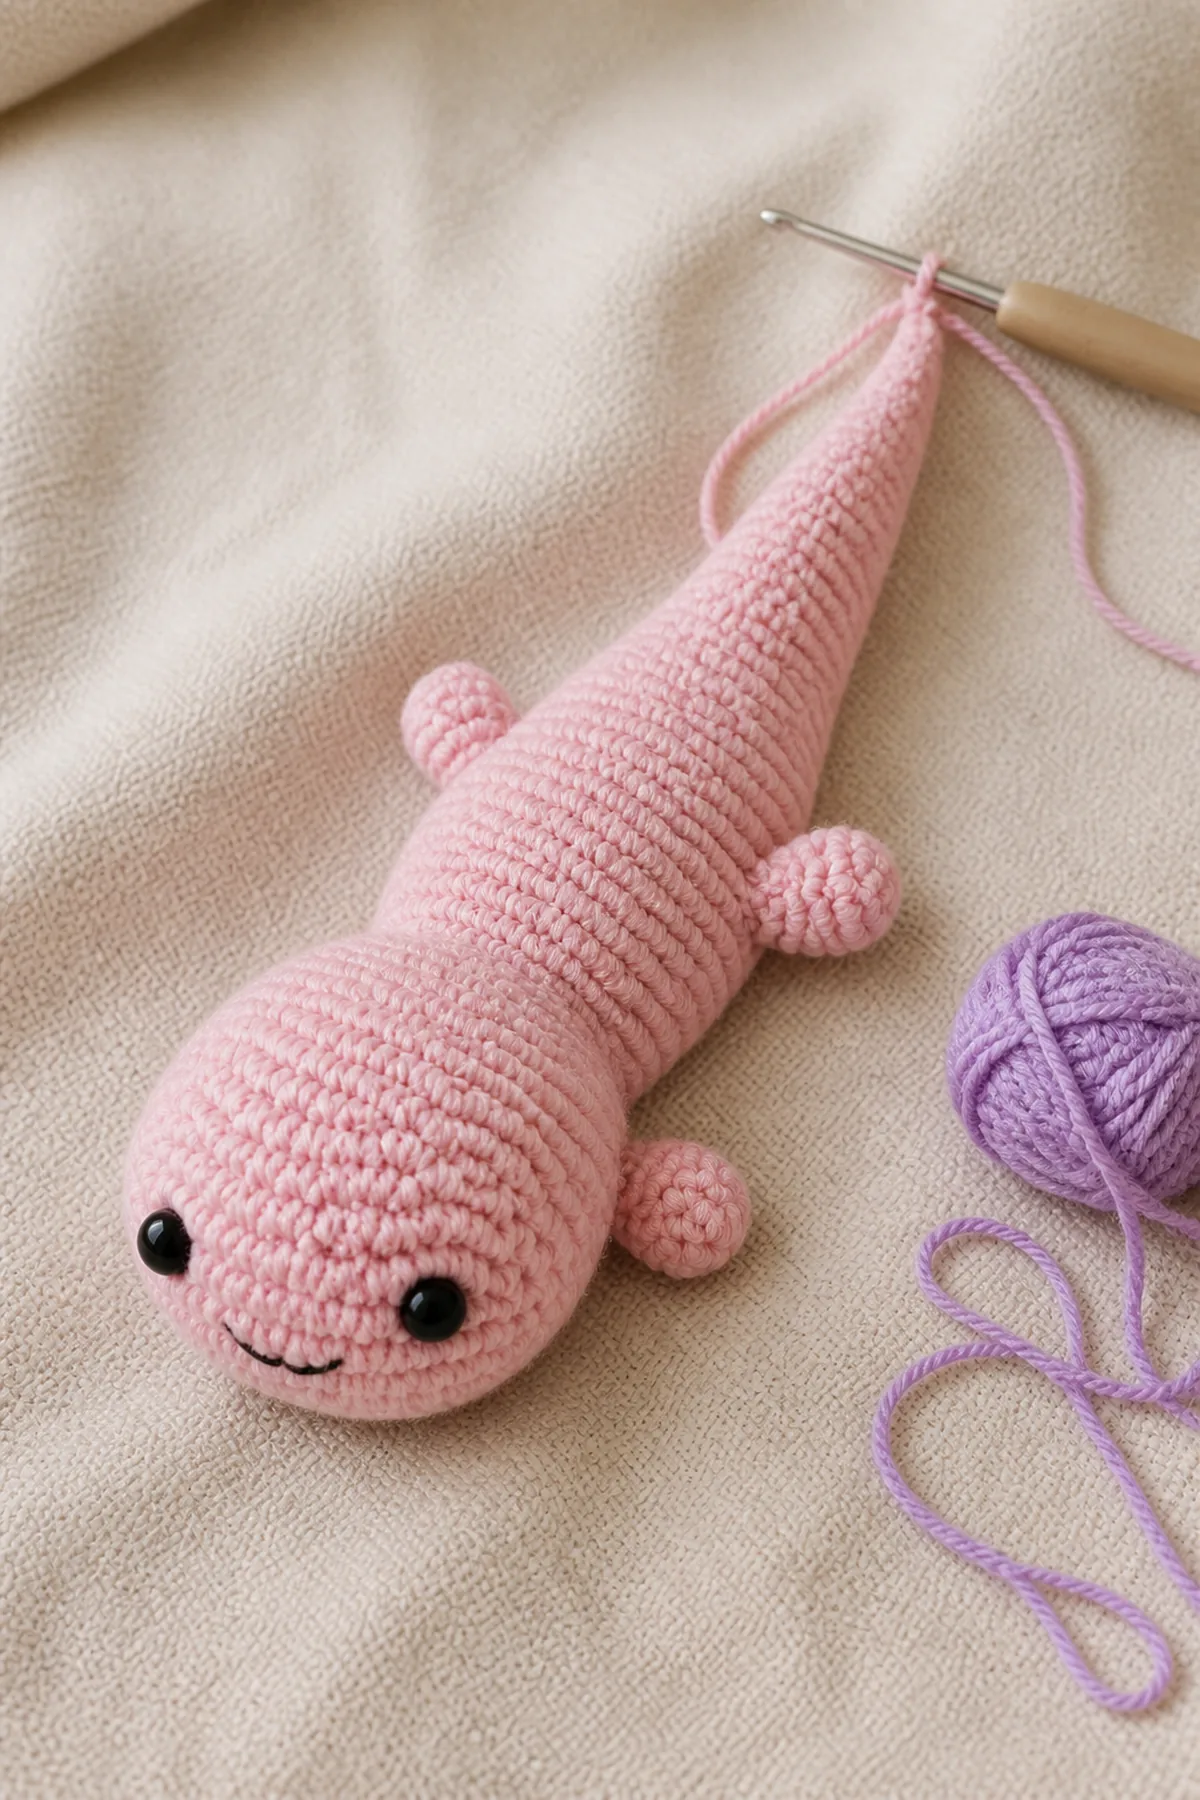
View the body from above. Each pair of limbs should sit on opposite sides, with twelve ordinary stitches between the two bobbles in the working direction. Adjust the bobbles with your fingers before adding more stuffing.
Rounds 17–27: Taper the Tail
Rnd 17: Repeat [sc in next 3 stitches, dec] 6 times. (24 sts)
Rnd 18: Repeat [sc in next 2 stitches, dec] 6 times. (18 sts)
Rnd 19: Repeat [sc in next stitch, dec] 6 times. (12 sts)
Add the final firm portion of stuffing to the body. Use smaller pieces toward the tail so it can curve gently.
Rnds 20–22: Sc in each stitch around. (12 sts)
Rnd 23: Repeat [sc in next stitch, dec] 4 times. (8 sts)
Rnds 24–26: Sc in each stitch around. (8 sts)
Rnd 27: Dec 4 times. (4 sts)
Cut the pink yarn with an 8-inch (20 cm) tail. Thread it through the final four front loops, pull the tail closed, and weave it through the filled body.
Surface-Crochet Six No-Sew Gills
Face the axolotl toward you. On one side, identify three adjacent vertical posts spanning the side of Rounds 5–7. Insert the hook around the lowest selected post and pull a lavender loop through. Repeat three times: ch 5, sl st in the second chain from the hook and in the next 3 chains, then sl st around the next selected head post. Fasten off after the third branch.
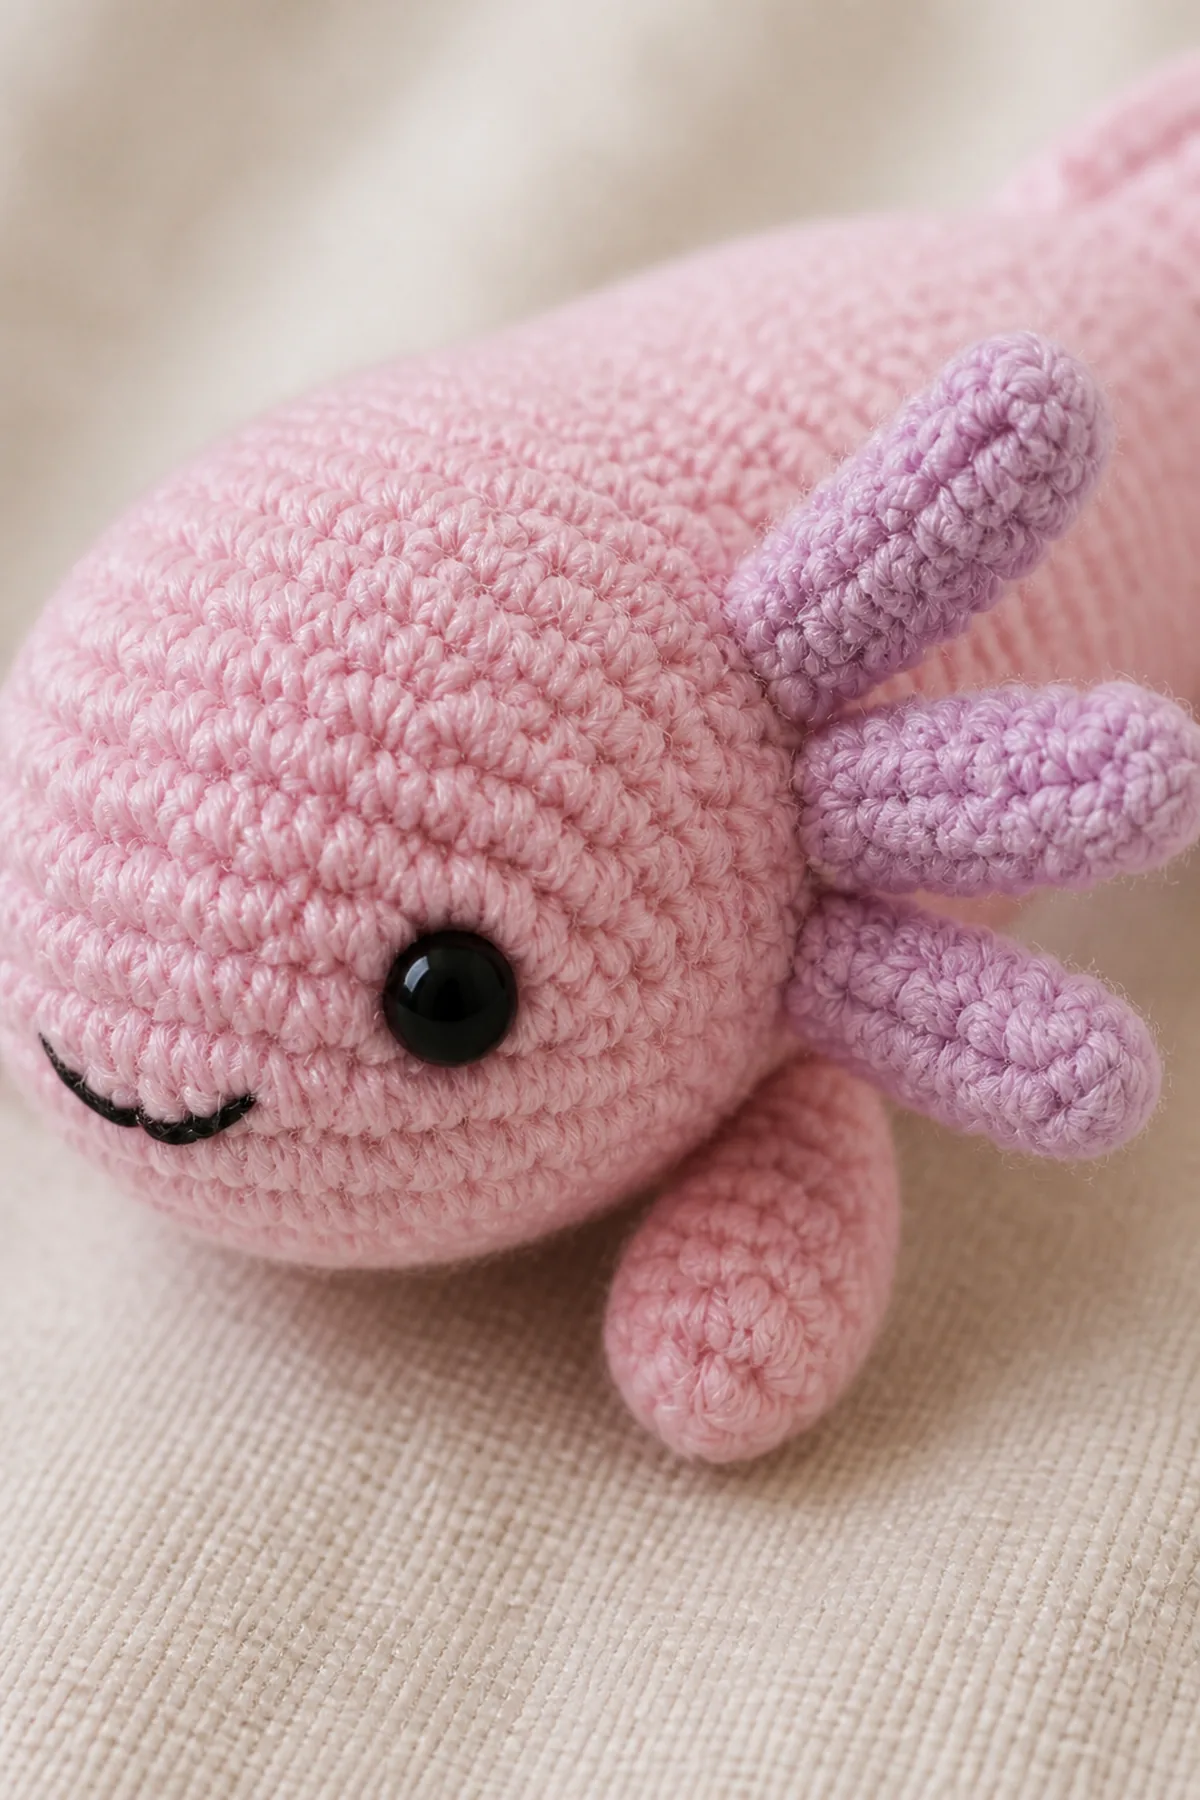
Repeat on the opposite side using mirrored posts. Count four return slip stitches in every branch. Weave the short lavender ends beneath matching head stitches. The gills are anchored directly to the head and require no sewing.
Finishing the Face
- Thread a short length of black embroidery thread onto the yarn needle.
- Enter through a pink stitch channel beneath one eye and form a shallow curved smile centered between the eyes.
- Make one small securing stitch at each end of the curve.
- Knot the thread inside a nearby stitch channel, hide both ends in the head, and trim.
- Shape the head, limbs, and tail with your fingers so the toy rests evenly.
Helpful Tips
- Prevent gaps: Use a 3.5 mm hook or another size that creates a dense fabric with your yarn.
- Lock the eyes early: Both washers must be secure before Round 9 closes the head.
- Pop the limbs outward: Push each bobble to the right side immediately after completing it.
- Stuff gradually: Small pieces create a smooth surface and keep the narrow tail manageable.
- Mirror the gills: Use matching head posts on both sides and four return slip stitches per branch.
Frequently Asked Questions
Is this axolotl completely no-sew?
Yes. The pink head, body, limbs, and tail are one continuous piece. The lavender gills are crocheted directly around head posts. Only the decorative smile uses an embroidery needle.
Can I make it safe for a young child?
Replace the plastic eyes with tightly embroidered eyes, secure every yarn end, and follow current toy-safety requirements for your region. Inspect handmade toys regularly for wear.
Why are my bobble limbs turning inward?
Bobble stitches tend to pop toward the wrong side. Push each one outward as soon as it closes and check it again before stuffing past that round.
Can I use chenille yarn?
Yes. Choose a hook that produces a dense fabric and consider embroidered eyes. Because plush yarn hides stitches, place a contrasting marker in every first stitch and count each round aloud.
Printable No-Sew Mini Axolotl Pattern Card
Finished size: Approximately 7 in (18 cm) long.
Materials: Pink and lavender worsted yarn, 3.5 mm hook, two 8 mm safety eyes, black thread, stuffing, marker, needle, and scissors.
- Rnds 1–5: Start with 6 sc; increase evenly to 12, 18, 24, and 30 stitches.
- Rnds 6–8: Sc around at 30 stitches; install eyes.
- Rnds 9–10: Decrease to 24 and then 18 stitches.
- Rnds 11–12: Increase to 24 and then 30 stitches.
- Rnds 13–16: Keep 30 stitches; work two bobbles in Rounds 14 and 16.
- Rnds 17–19: Decrease to 24, 18, and 12 stitches.
- Rnds 20–27: Work three rounds at 12, decrease to 8, work three rounds, then decrease to 4.
- Close the tail; surface-crochet three lavender gills per side; embroider the smile.
Conclusion
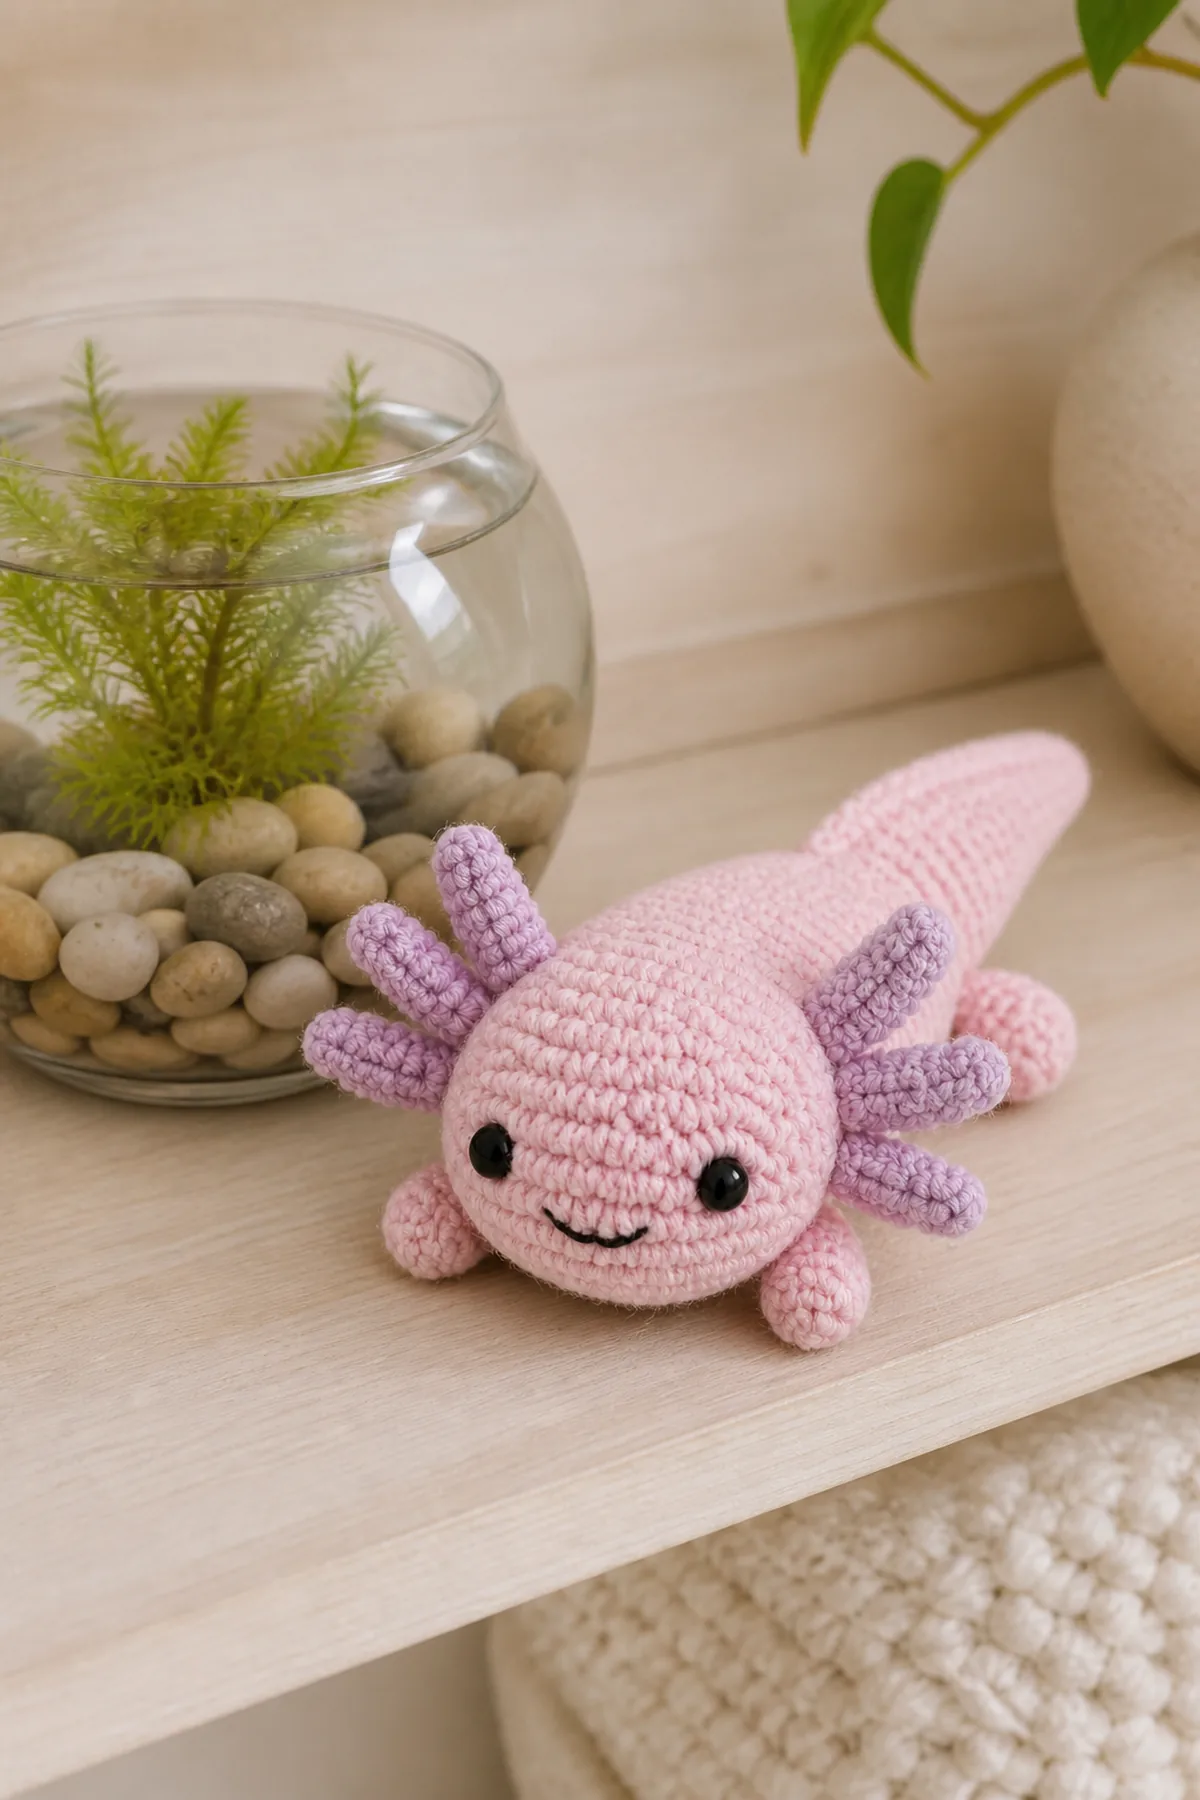
This no-sew mini crochet axolotl keeps the enjoyable sculpting of amigurumi while eliminating a long assembly session. Accurate round counts build the silhouette, bobbles create four secure limbs, and surface crochet adds the signature feathery gills. Once you have made one, vary the body and gill colors to create a bright little school of handmade axolotls.