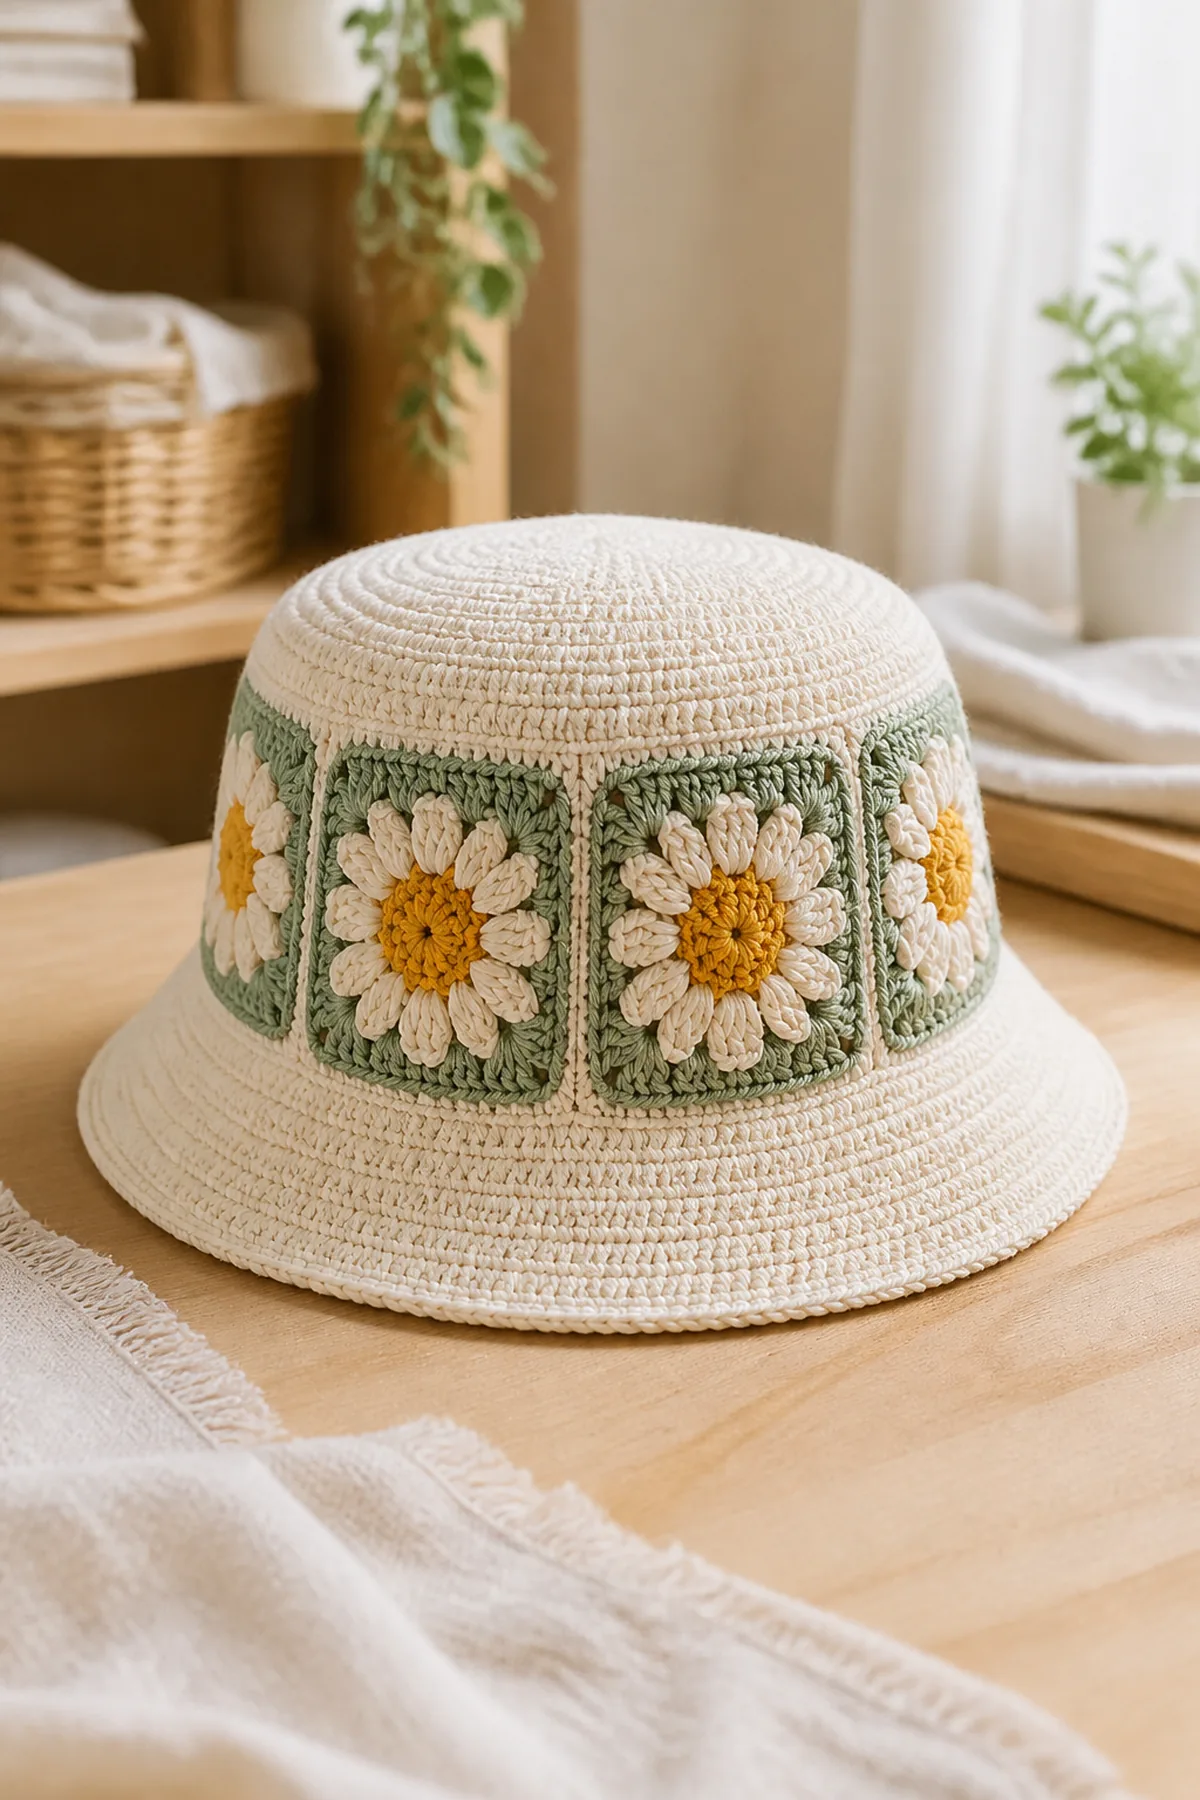
This crochet daisy granny square bucket hat combines sunny flower motifs with a practical cotton brim. Six matching squares create the crown and side band, while counted joining rounds keep the hat balanced and comfortable.
Each daisy begins in a marked magic ring, expands through four counted rounds, and is blocked to the same measurement before assembly. The squares are joined with cream yarn, then a simple lower band and brim are worked from the open edge.
Pattern Details
- Hook Size: 4.5 mm
- Finished Size: Adult medium, approximately 22 inches around and 8.5 inches deep
- Gauge: One blocked daisy square measures 4 inches
- Terminology: US
- Estimated Time: 8–10 hours
- Construction: Six equal daisy squares are joined into a crown and side band; a lower band and circular brim finish the hat.
- Skill level: Intermediate
Why You’ll Love This Project
The project is colorful without requiring complicated shaping in every round. Making one repeatable motif builds confidence, and the portable squares are easy to crochet in short sessions before they are joined into a finished accessory.
Materials
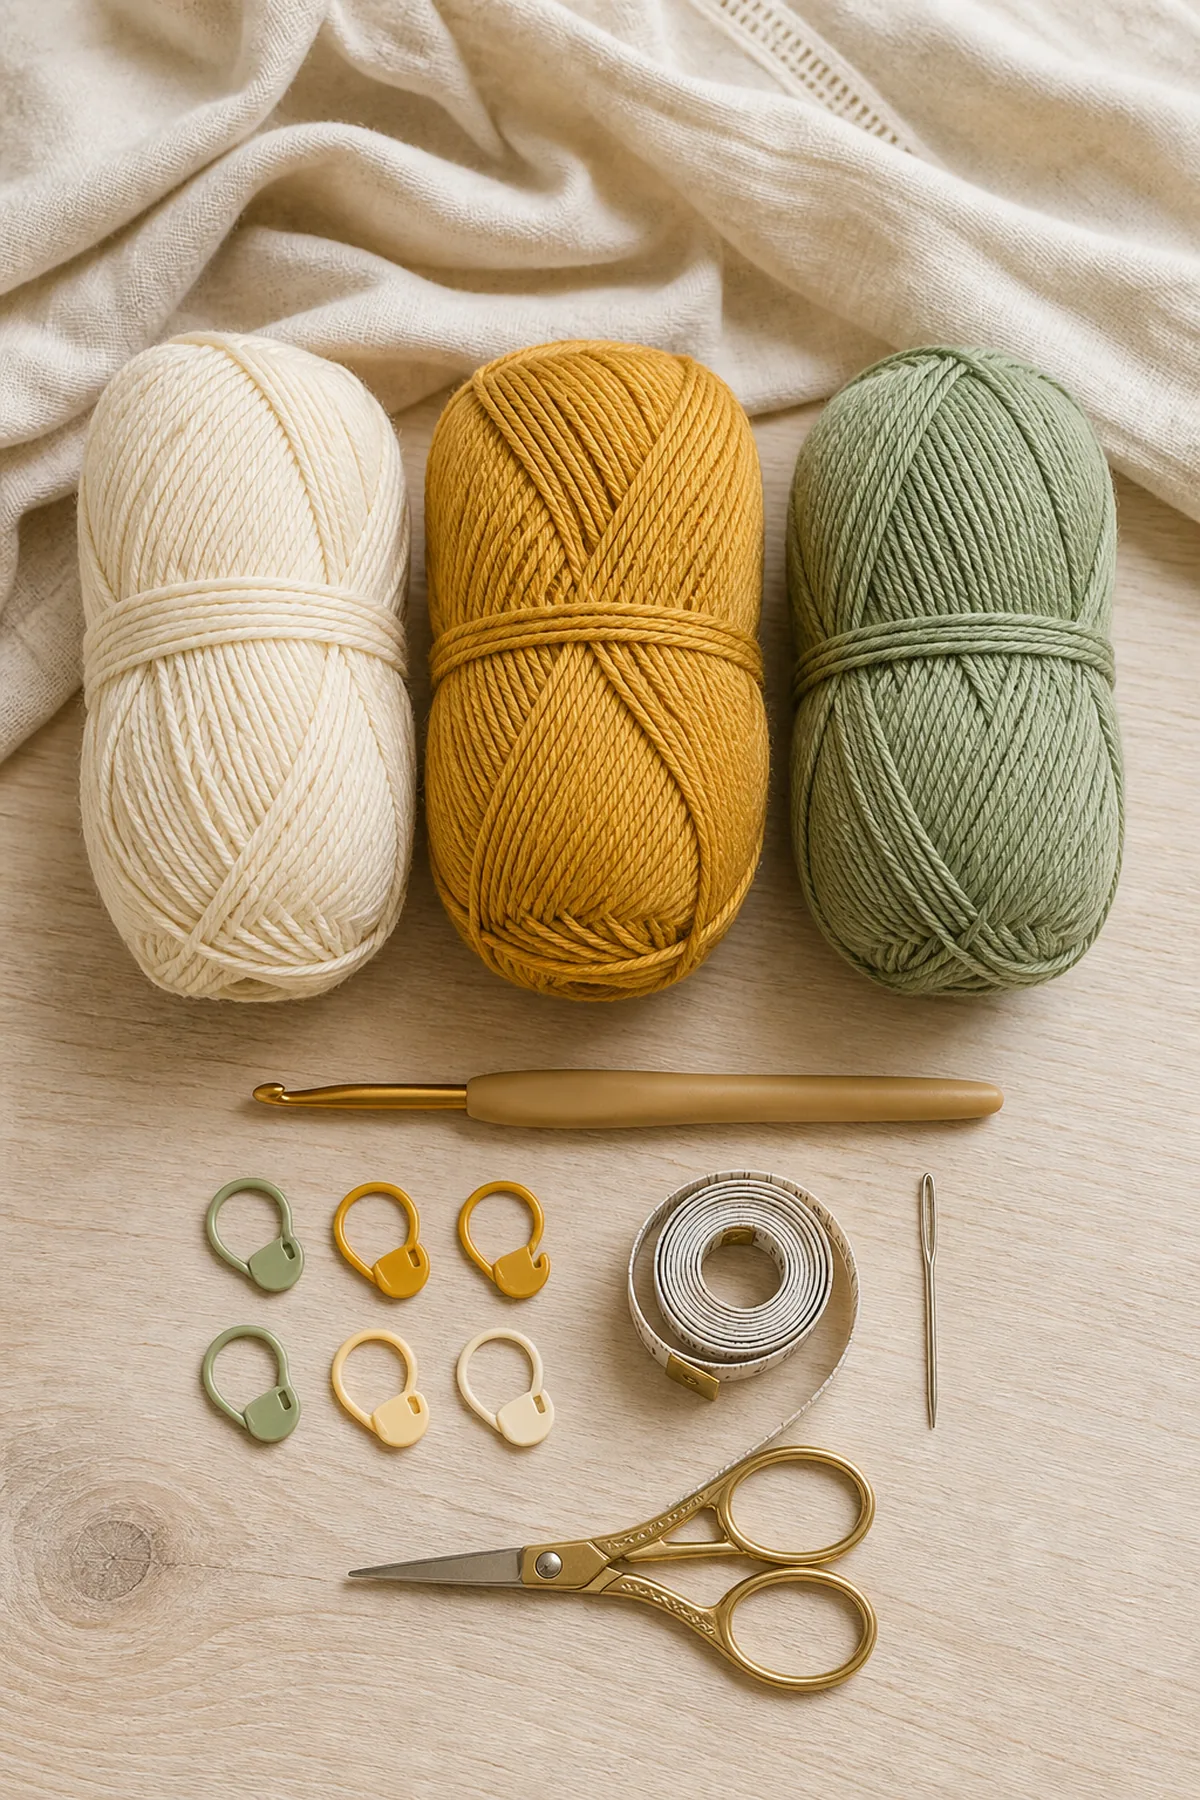
- Approximately 300 yards worsted-weight cotton yarn in cream
- Approximately 90 yards worsted-weight cotton yarn in golden yellow
- Approximately 70 yards worsted-weight cotton yarn in sage green
- 4.5 mm crochet hook
- Six locking stitch markers
- Tape measure
- Yarn needle
- Scissors
Gauge, Measurements, and Planning
The six blocked motifs determine the hat circumference. If one square is larger than 4 inches, the assembled band will be loose; if smaller, it will be tight. Adjust the hook before making the remaining motifs.
Make and wash a gauge swatch before beginning. Measure only after the swatch is completely dry. If the stitch width differs, change hook size rather than pulling the working yarn tighter. Keep a written count at the end of every section so the finished edges remain balanced and the assembly points line up.
Abbreviations and Special Stitches
- ch: chain
- hdc: half double crochet
- sc: single crochet
- sl st: slip stitch
- st(s): stitch(es)
- rnd: round
Special stitch guidance: Complete every color change on the final yarn-over of the previous stitch. Join motifs through both loops with a flat slip-stitch seam, keeping all right sides facing the same direction.
Important Notes
- Make six identical motifs and block every square to 4 inches before joining.
- Beginning chains do not count as stitches unless a step says otherwise.
- Use a marker in the first stitch of every joined brim round and do not turn.
- Keep the brim stitches firm so the edge holds its shape.
Complete Instructions for Crochet Daisy Granny Square Bucket Hat
Crochet Six Daisy Squares
Work each motif with the same yarn sequence and measure after gentle blocking.
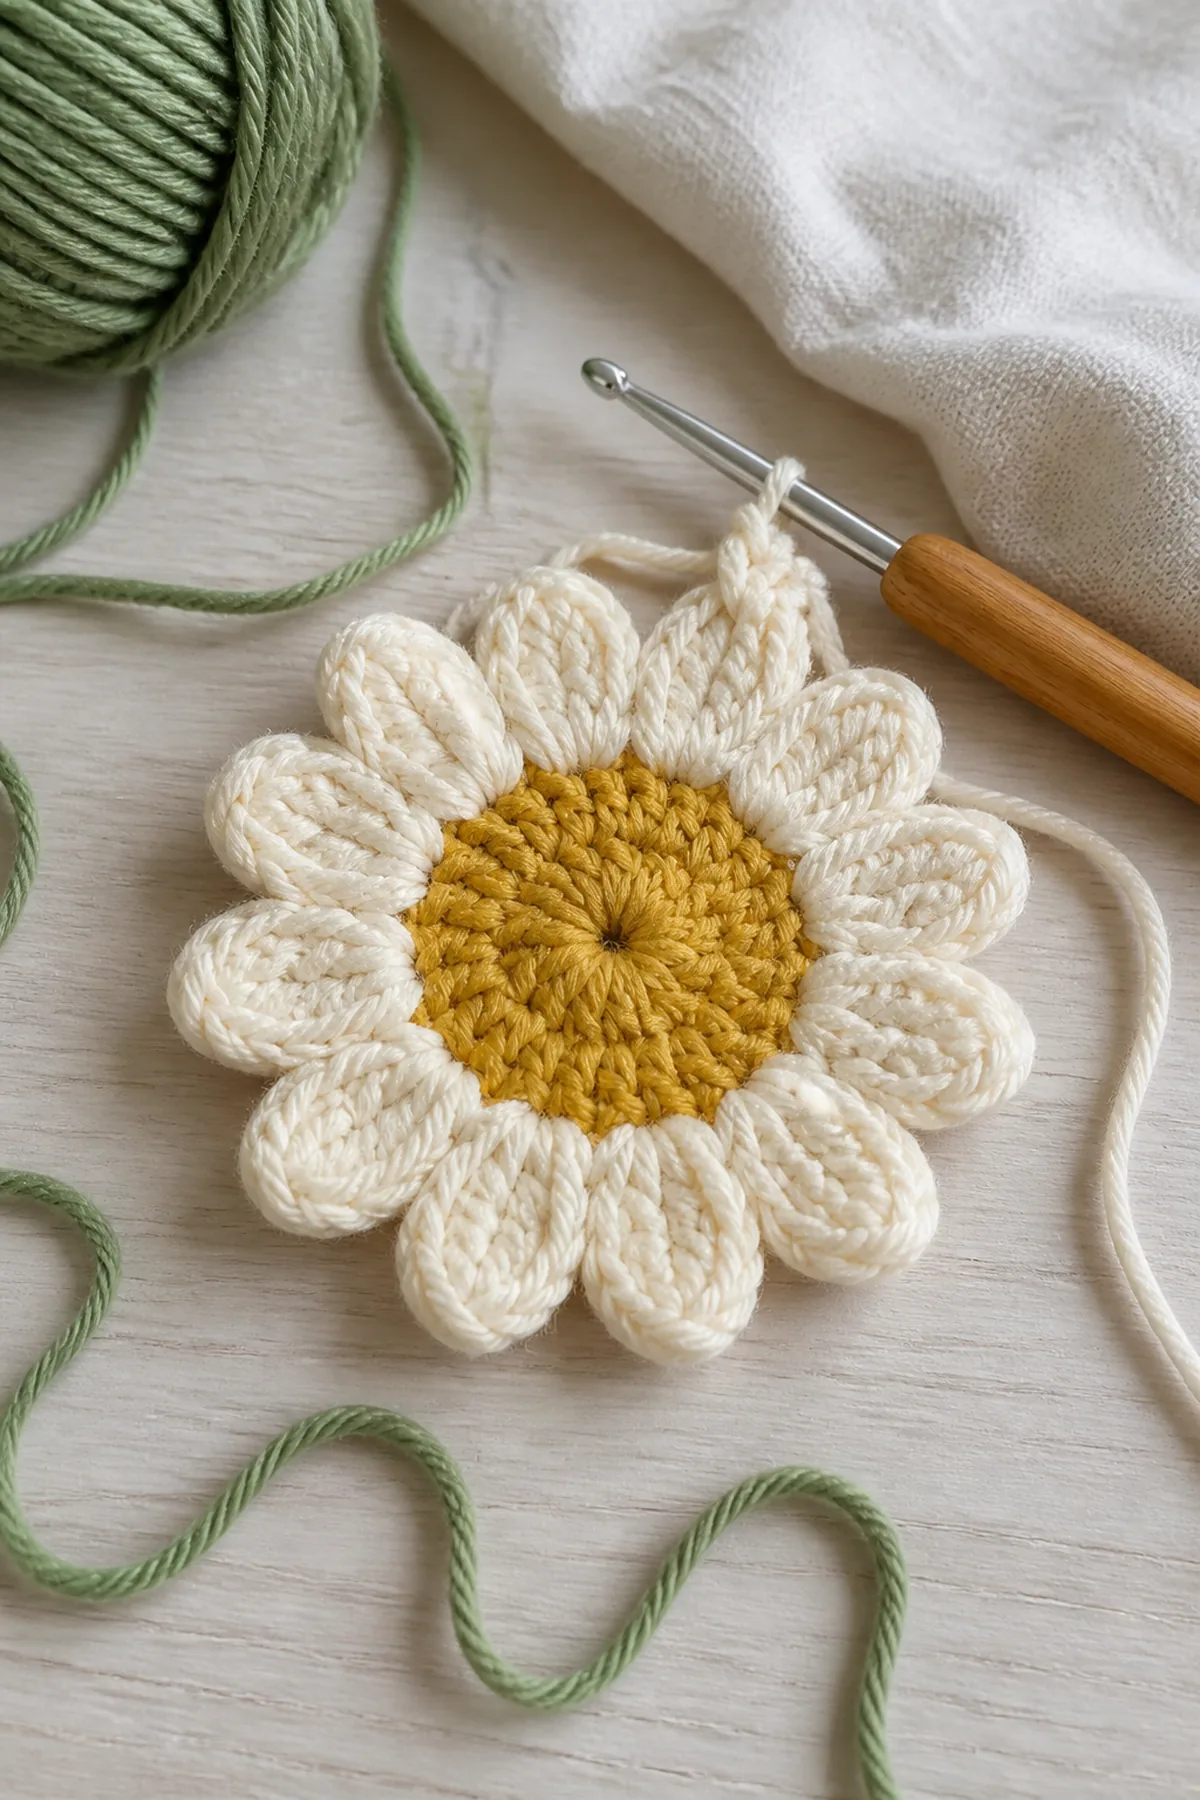
- Daisy Rnd 1: With yellow, make 8 sc in a magic ring. Mark the first stitch, join with a slip stitch, and do not turn. (8 sts)
- Daisy Rnd 2: Change to cream and work 2 hdc in each stitch around. Join and do not turn. (16 sts)
- Daisy Rnd 3: Repeat [sc in next stitch, 2 sc in next stitch] eight times. Join and do not turn. (24 sts)
- Daisy Rnd 4: Change to sage and repeat [hdc in next 2 stitches, 2 hdc in next stitch] eight times. Join and fasten off. (32 sts)
- Make five more matching motifs, weave in the color-change tails, dampen, and pin each square to 4 inches.
Join the Crown and Side Band
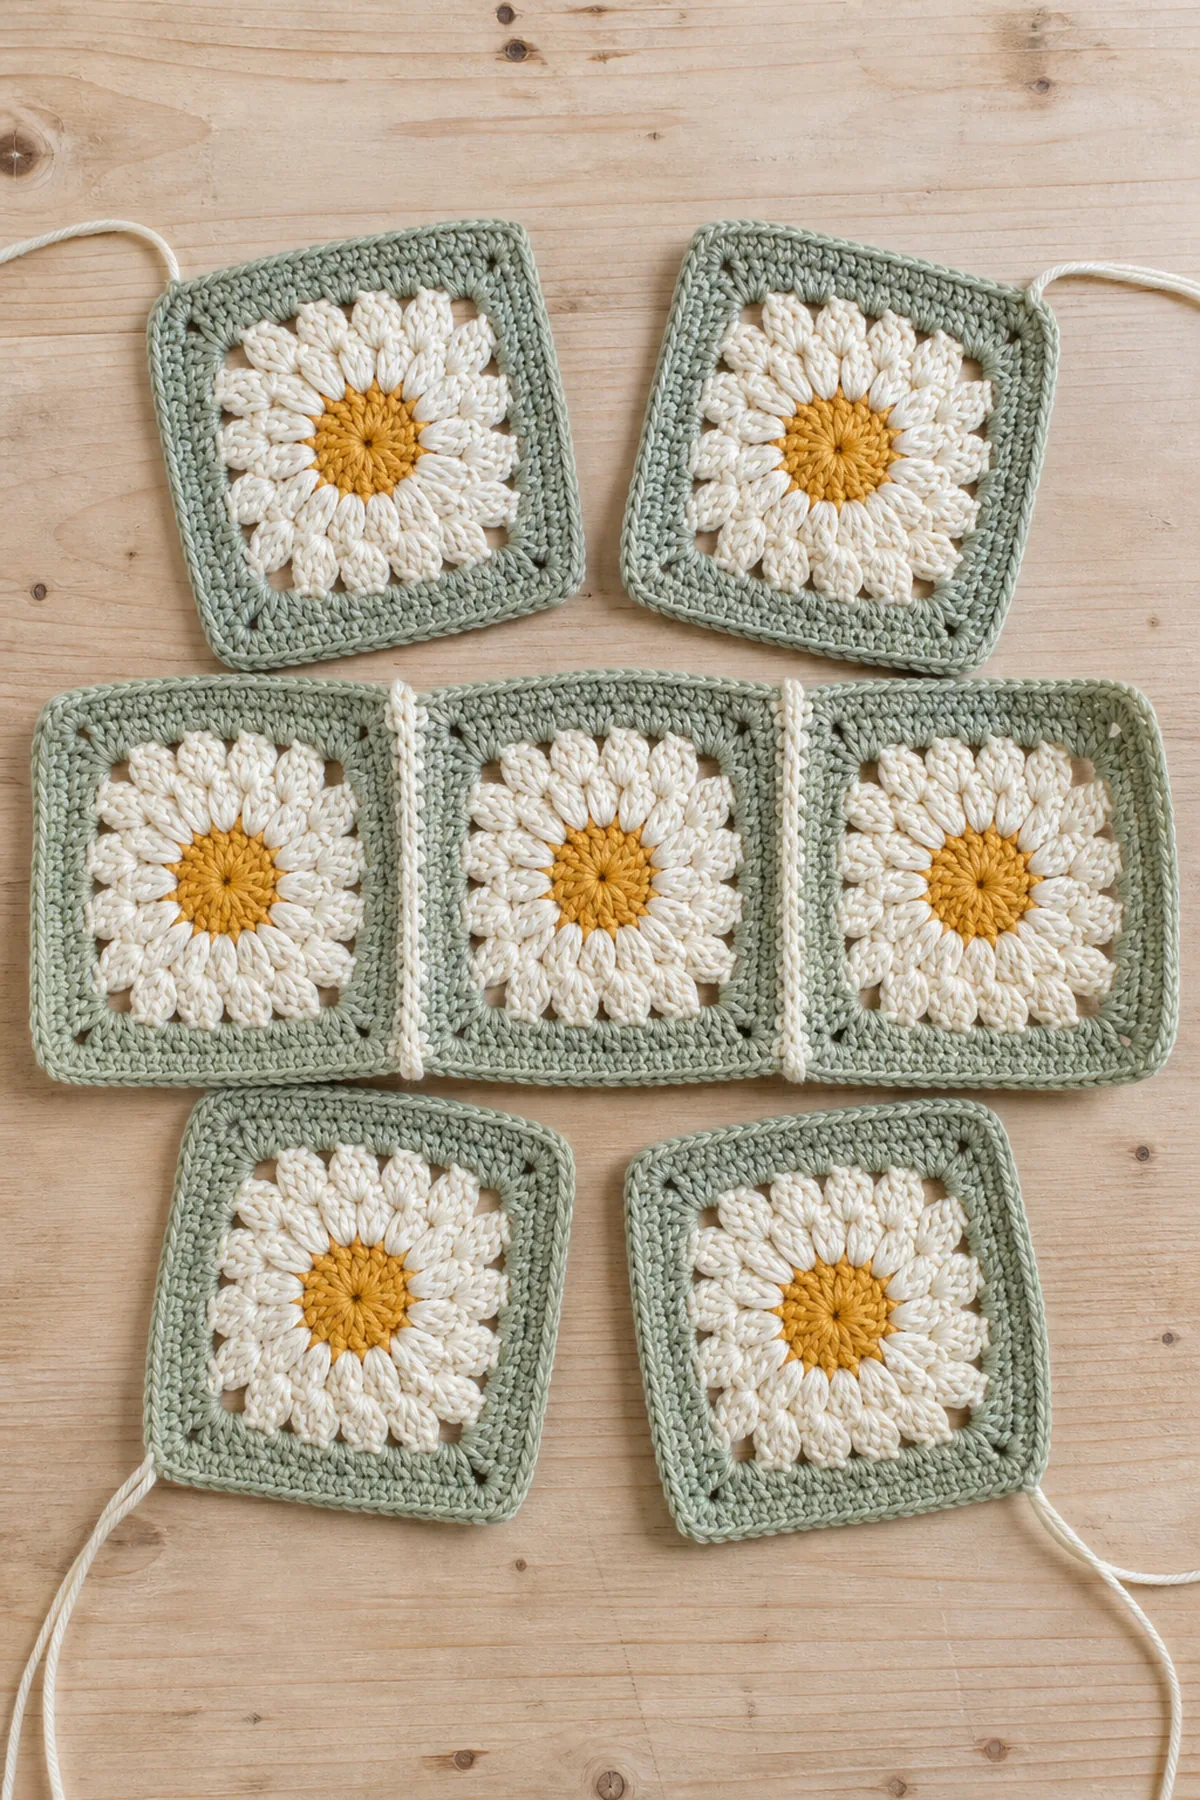
Arrange one square at the center and five around it with every daisy facing outward.
- Join the five side squares into a ring with flat slip-stitch seams through both loops.
- Center the sixth square over the ring. Mark the midpoint of every side-square top edge and the corresponding points around the top square.
- Join from marker to marker, easing only one stitch at a time so the crown remains flat.
- Join cream yarn to the lower edge and work one round of sc evenly around. Count the round and adjust only at the seams to reach 80 stitches. Join without turning. (80 sts)
Crochet the Brim
Keep the right side facing and move the marker at the start of every round.
- Brim Rnd 1: Repeat [sc in next 9 stitches, 2 sc in next stitch] eight times. (88 sts)
- Brim Rnd 2: Sc in every stitch around. (88 sts)
- Brim Rnd 3: Repeat [sc in next 10 stitches, 2 sc in next stitch] eight times. (96 sts)
- Brim Rnds 4–7: Sc in every stitch around. (96 sts)
- Work one slip stitch in every stitch for a firm edge, join, and fasten off.
Assembly and Shaping
Steam the seams lightly from the wrong side, keeping the iron above the cotton rather than touching it. Shape the crown over a rounded bowl, then smooth the brim outward and check the 22-inch circumference.
Lay every component on a flat surface before joining. Match the marked centers first, then divide each remaining edge into equal sections. Work through both layers with consistent tension and pause after each section to check that the fabric lies flat. This measured approach prevents twisting and keeps decorative details facing the intended direction.
Finishing
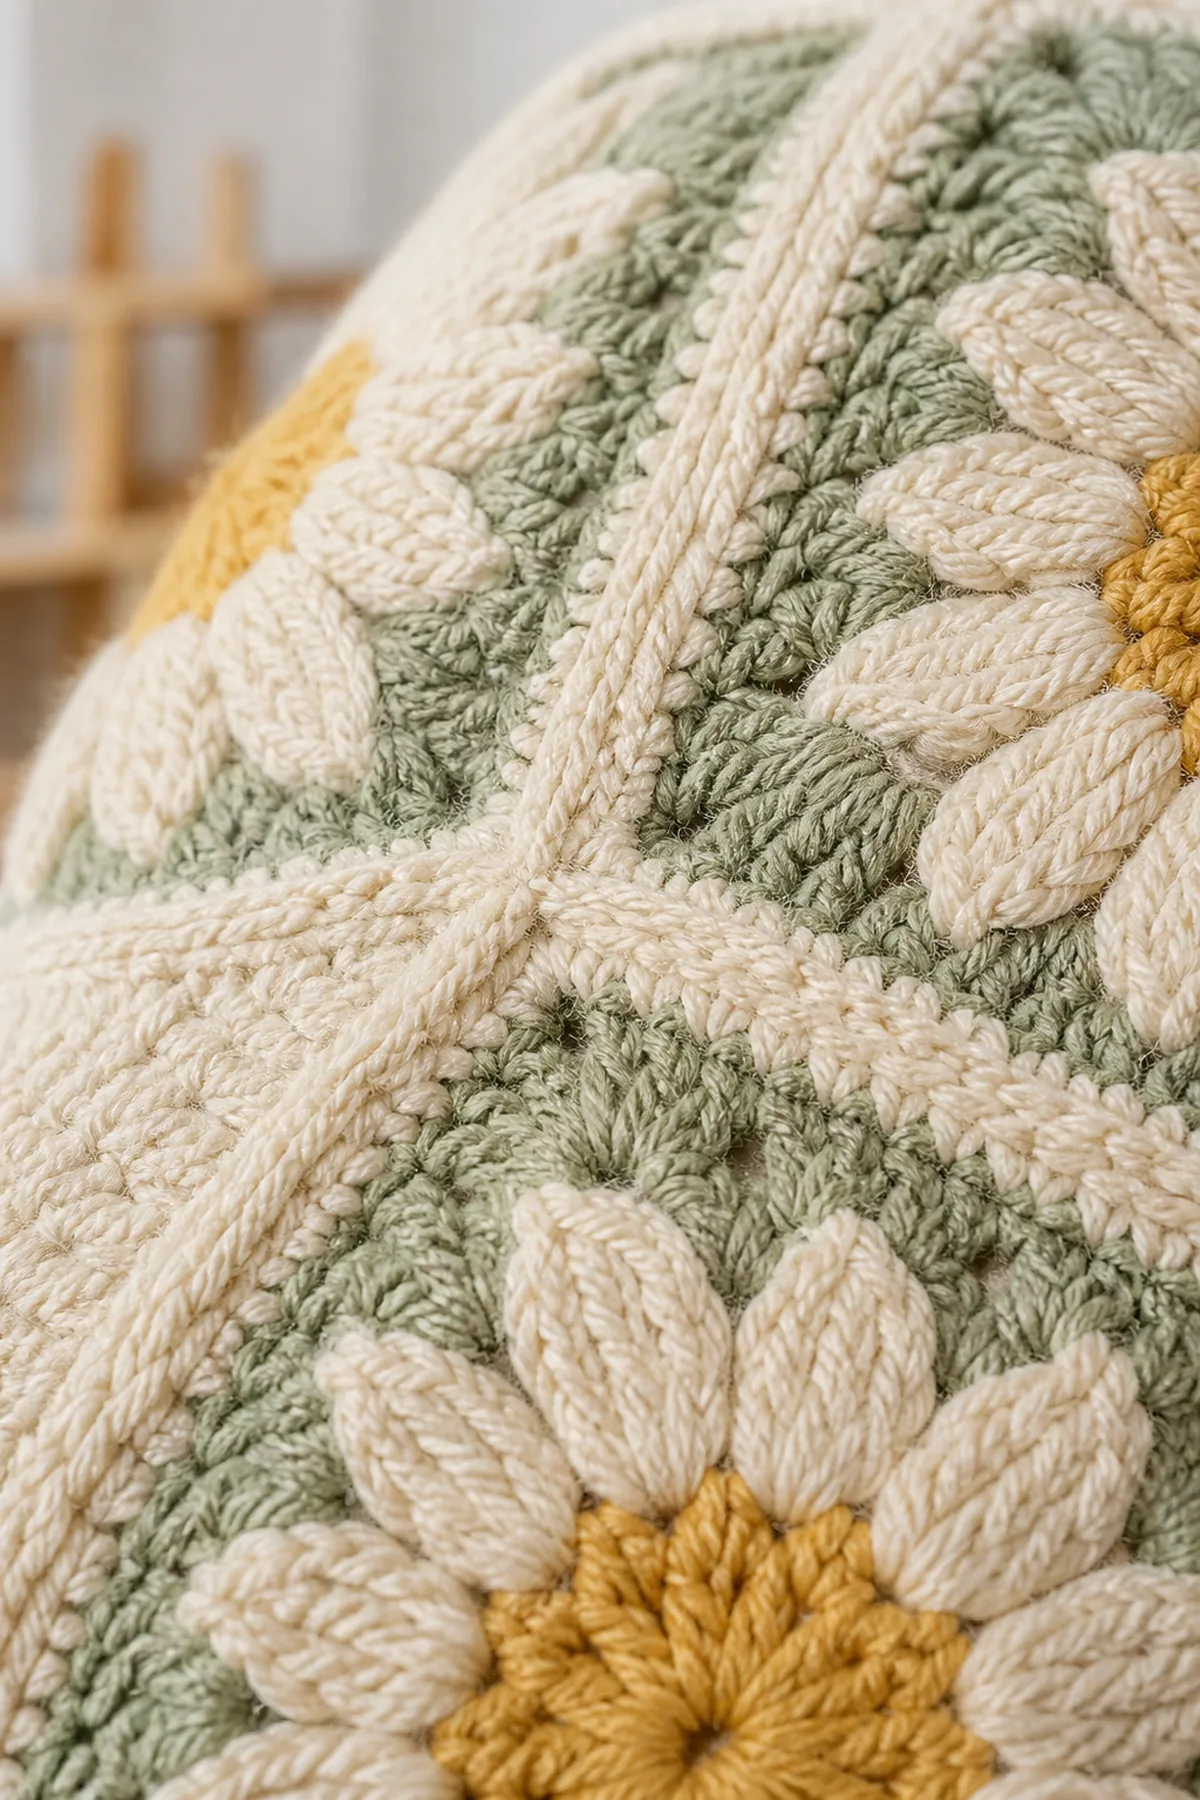
- Weave each tail through matching-color stitches and reverse direction once.
- Mist the hat and shape it over a rounded form without stretching the band.
- Let the hat dry completely, then smooth the brim and inspect every motif seam.
- Add a removable inner ribbon only if a slightly closer fit is desired.
For a polished result, weave each tail through several same-color stitches, reverse direction once, and trim only after the fabric has been gently stretched. Block to the listed dimensions without flattening textured stitches. Inspect joins, borders, straps, and decorative pieces before the project is used or gifted.
Helpful Tips
- Block the first motif before making the other five.
- Keep seam tension looser than motif tension so the joins stay flexible.
- Stack finished squares to compare their corners and side lengths.
- Use cotton yarn for a brim that blocks cleanly and feels comfortable in warm weather.
Good lighting and a contrasting stitch marker make counting much easier. If a section looks uneven, compare the current count with the previous checkpoint before continuing. Fixing one missed stitch early is faster than compensating later, and it preserves the measurements used by the assembly instructions.
Frequently Asked Questions
Can I make the hat smaller?
Use a smaller hook to create 3.5-inch motifs, then reduce the established lower-edge count evenly before beginning the brim.
Can I use acrylic yarn?
Yes, although cotton gives the brim more body and makes the blocked square edges easier to align.
Why is my brim wavy?
A wavy brim usually has too many increases or loose tension. Confirm the 88- and 96-stitch checkpoints and use a smaller hook for the final rounds.
Conclusion
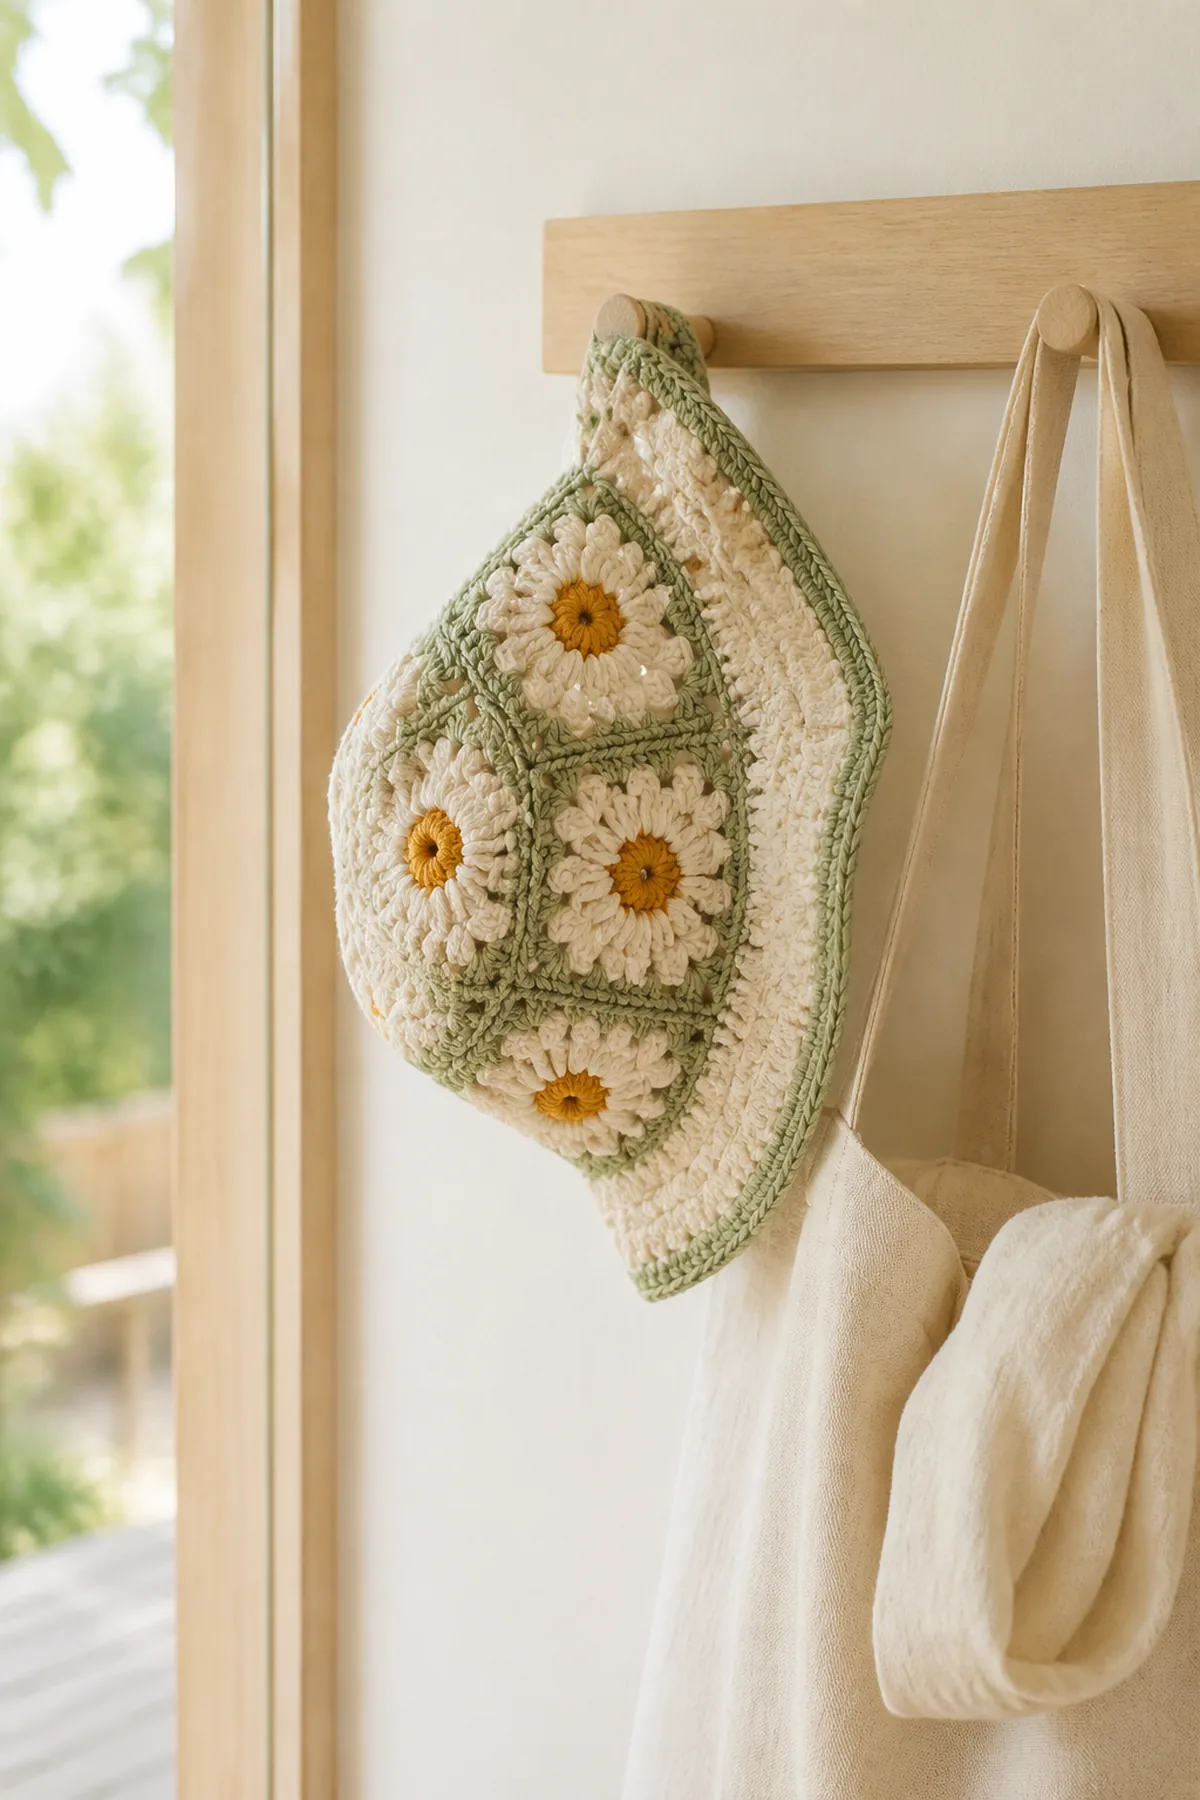
Your finished daisy granny square bucket hat should feel light, structured, and cheerful. The repeated motif method makes color changes manageable, while the counted joins and brim rounds provide a dependable fit.
Printable Crochet Pattern Card
Project: Crochet Daisy Granny Square Bucket Hat
Skill level: Intermediate Hook: 4.5 mm Yarn: Worsted
Finished size: Adult medium, approximately 22 inches around and 8.5 inches deep
Card Materials
- Approximately 300 yards worsted-weight cotton yarn in cream
- Approximately 90 yards worsted-weight cotton yarn in golden yellow
- Approximately 70 yards worsted-weight cotton yarn in sage green
- 4.5 mm crochet hook
- Six locking stitch markers
- Tape measure
- Yarn needle
- Scissors
Card Instructions
- Crochet Six Daisy Squares: Make six identical four-round daisy motifs, ending with 32 stitches, then block each to 4 inches.
- Join the Crown and Side Band: Join five motifs into a side ring, attach the sixth motif as the crown, and establish an 80-stitch lower edge.
- Crochet the Brim: Increase the lower edge evenly to 96 stitches, work four straight brim rounds, and finish with slip stitches.
Finish: Check every count, weave in all ends, block to measurement, and inspect each join.