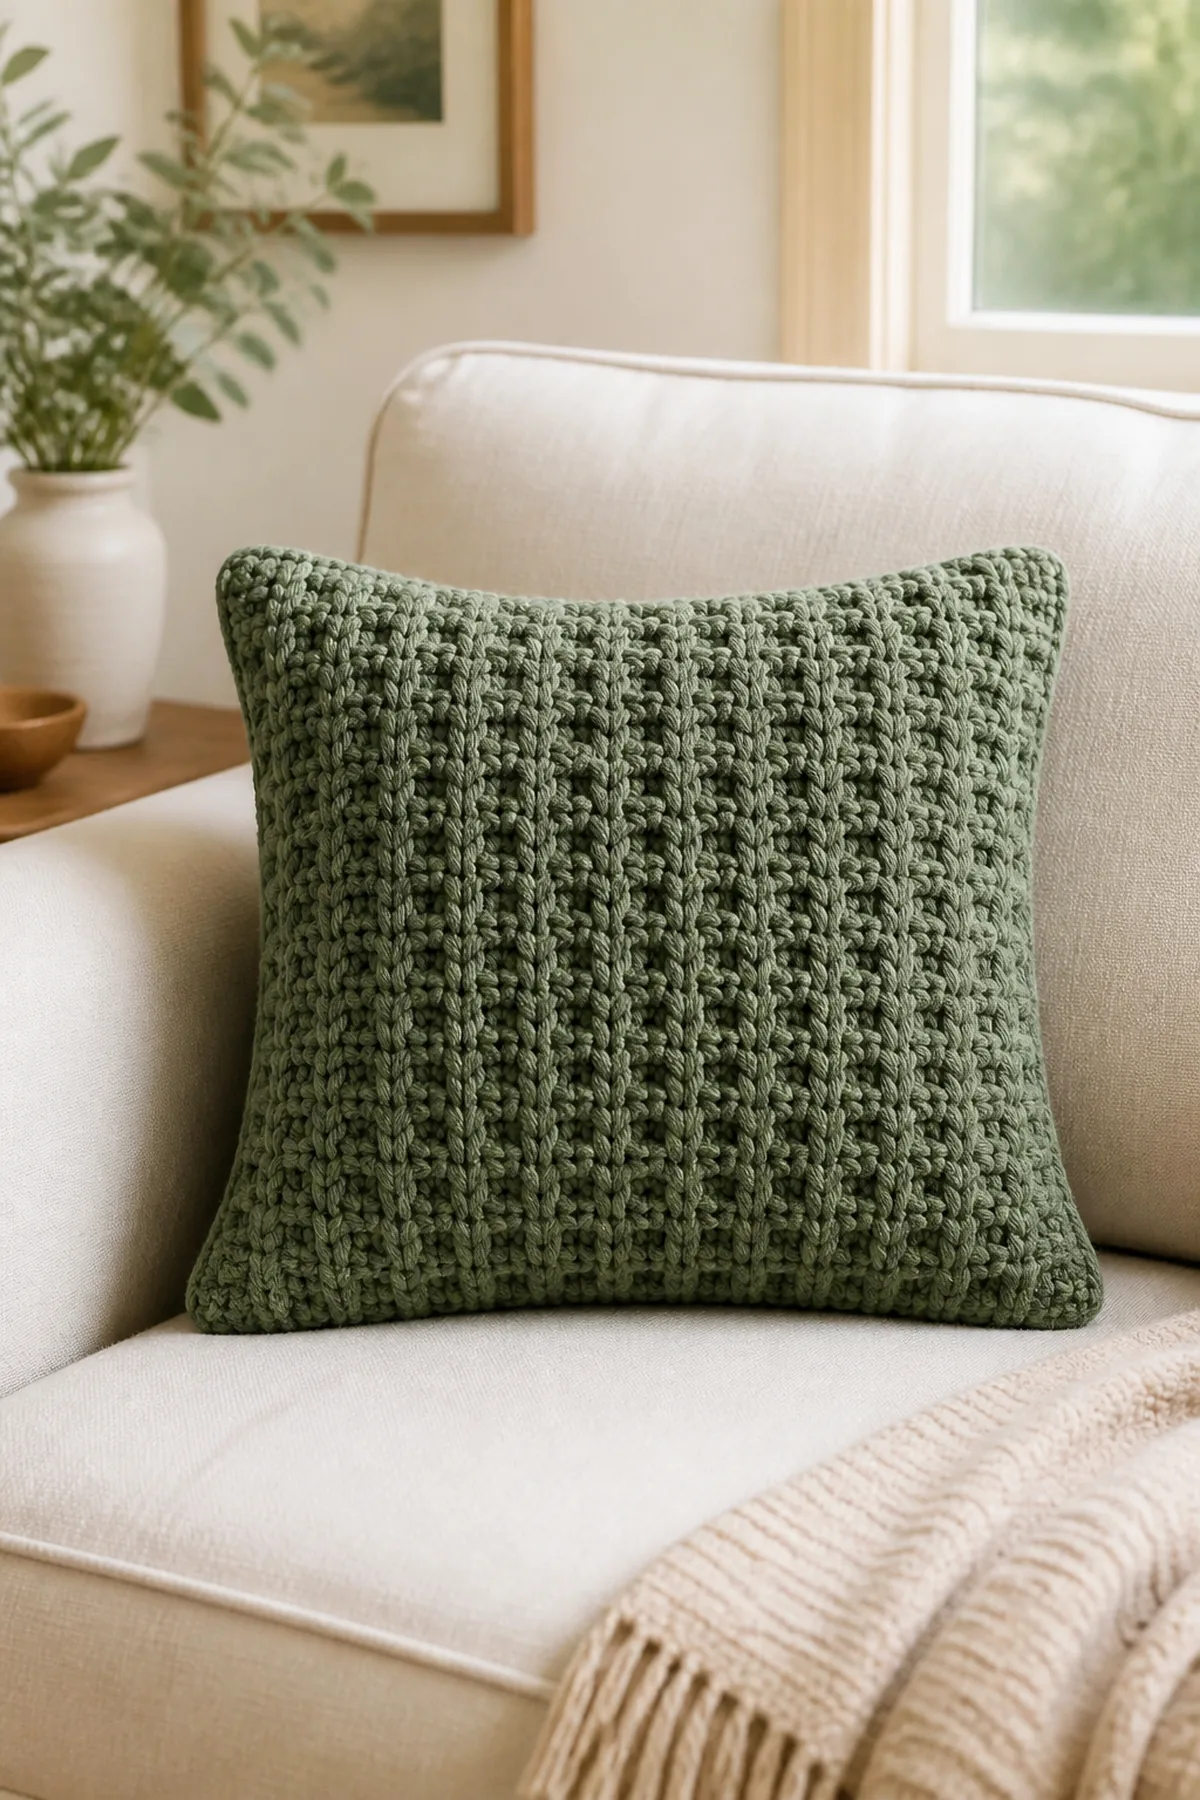
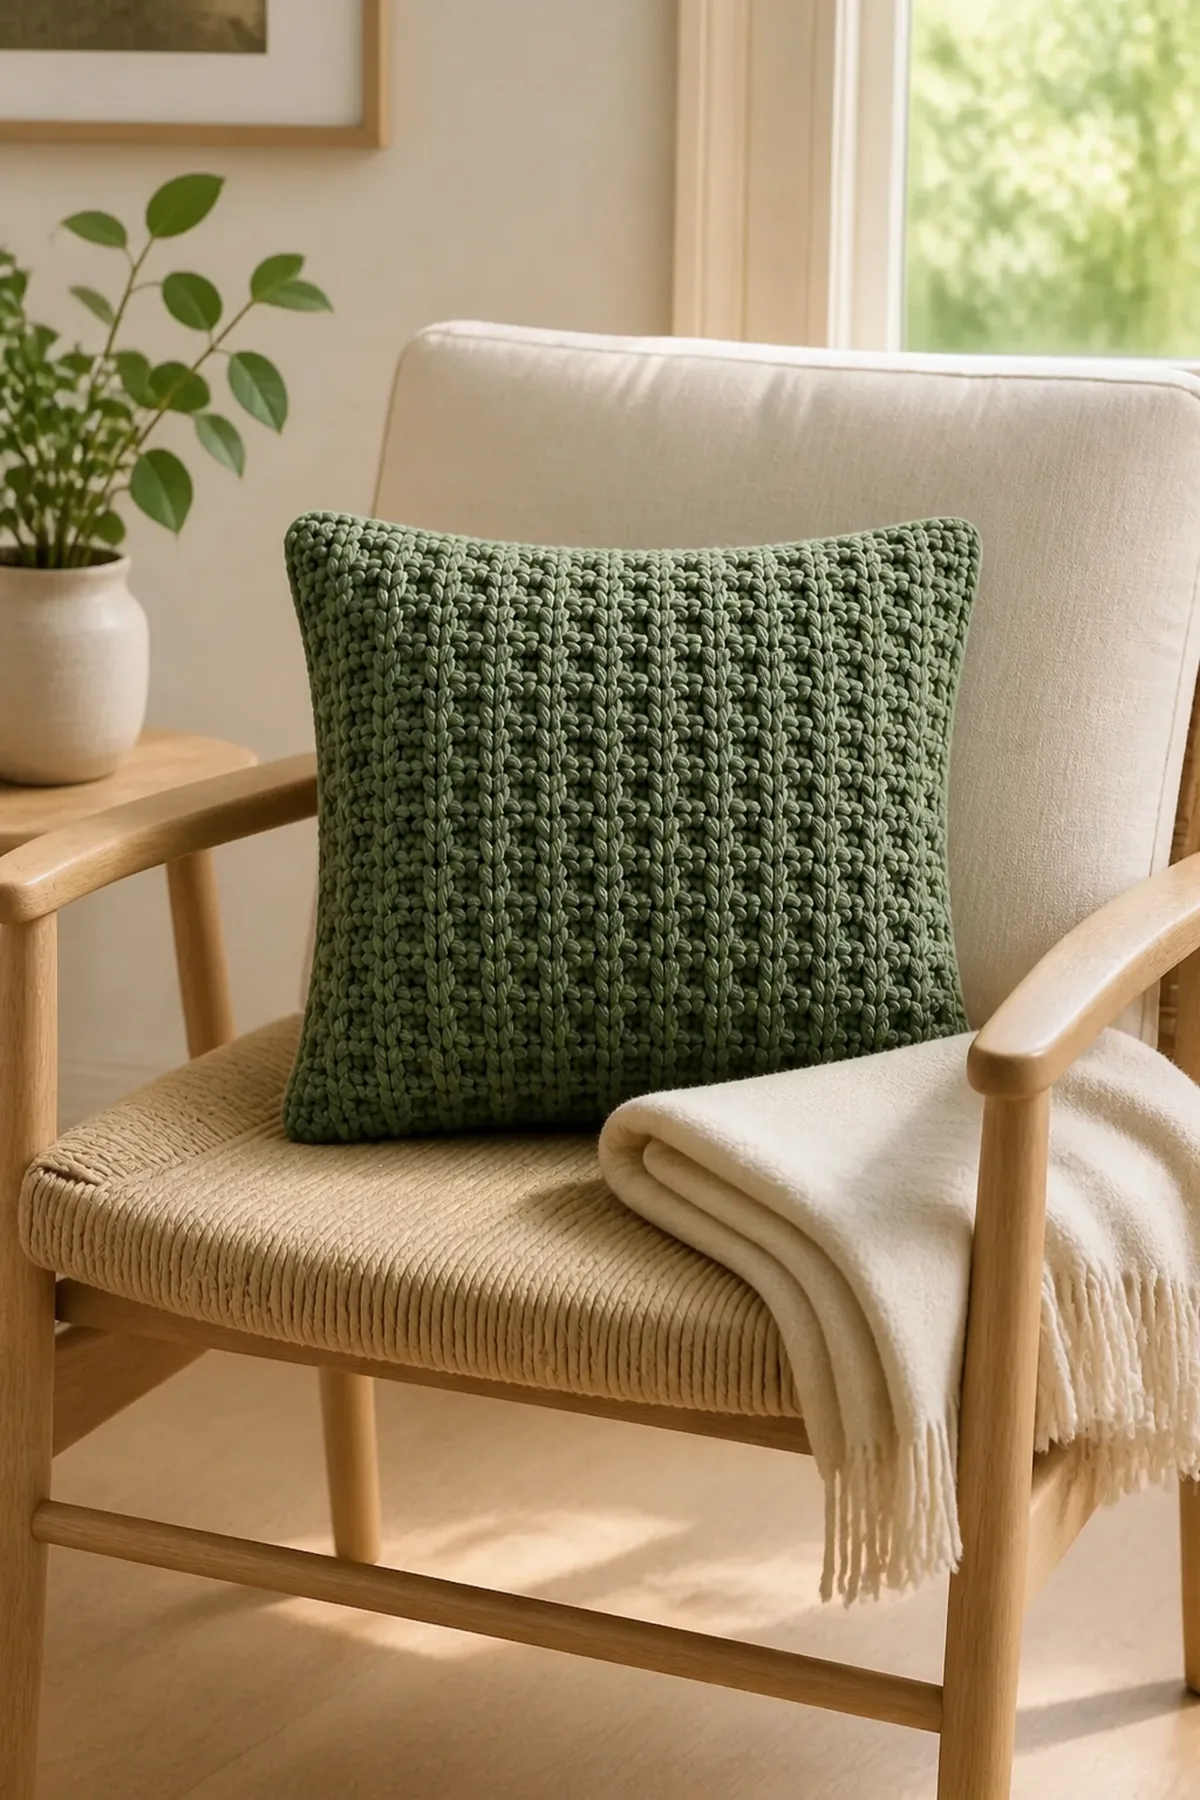
This easy crochet waffle stitch throw pillow adds rich architectural texture to a sofa, reading chair, or neatly made bed. Raised front-post ribs frame deep square pockets on the front, while two smooth overlapping rectangles form a practical envelope back. The finished cover removes easily for cleaning and does not require a zipper or buttonholes.
The pattern fits a 16-inch (40.5 cm) pillow insert and uses worsted yarn with a 5 mm hook. Every front row contains exactly sixty-two stitches. Once Rows 2 and 3 are established, the same two-row sequence repeats until the panel is square. Muted sage highlights the shadows in the stitch pattern, although any solid light or medium color will show the texture clearly.
Why You’ll Love This Waffle Stitch Pillow
Waffle stitch looks complex because its raised grid catches light from several directions, but it uses only double crochet and front post double crochet. The repeated rhythm is easy to memorize, and the unchanged stitch count provides a quick accuracy check after every row. The envelope construction also makes the project accessible to anyone who prefers crochet seaming over installing hardware.
The front panel is intentionally blocked one inch larger than the insert. After the single-crochet seam consumes the edge allowance, the insert fills the cover without stretching the waffle pockets flat. The two back panels overlap by four rows, so the opening remains closed when the pillow is in use.
Pattern Details
- Skill level: Easy
- Terminology: US crochet terms
- Finished size: Fits a 16 in square insert
- Hook: 5 mm (H-8)
- Gauge: 14 stitches and 13 waffle rows equal 4 in after blocking
- Estimated time: 6–8 hours
- Construction: Three flat panels with an envelope overlap
Materials
- 850 yd (777 m) muted-sage worsted yarn
- 5 mm crochet hook
- 16 in (40.5 cm) square pillow insert
- Four locking markers
- Yarn needle, scissors, and tape measure
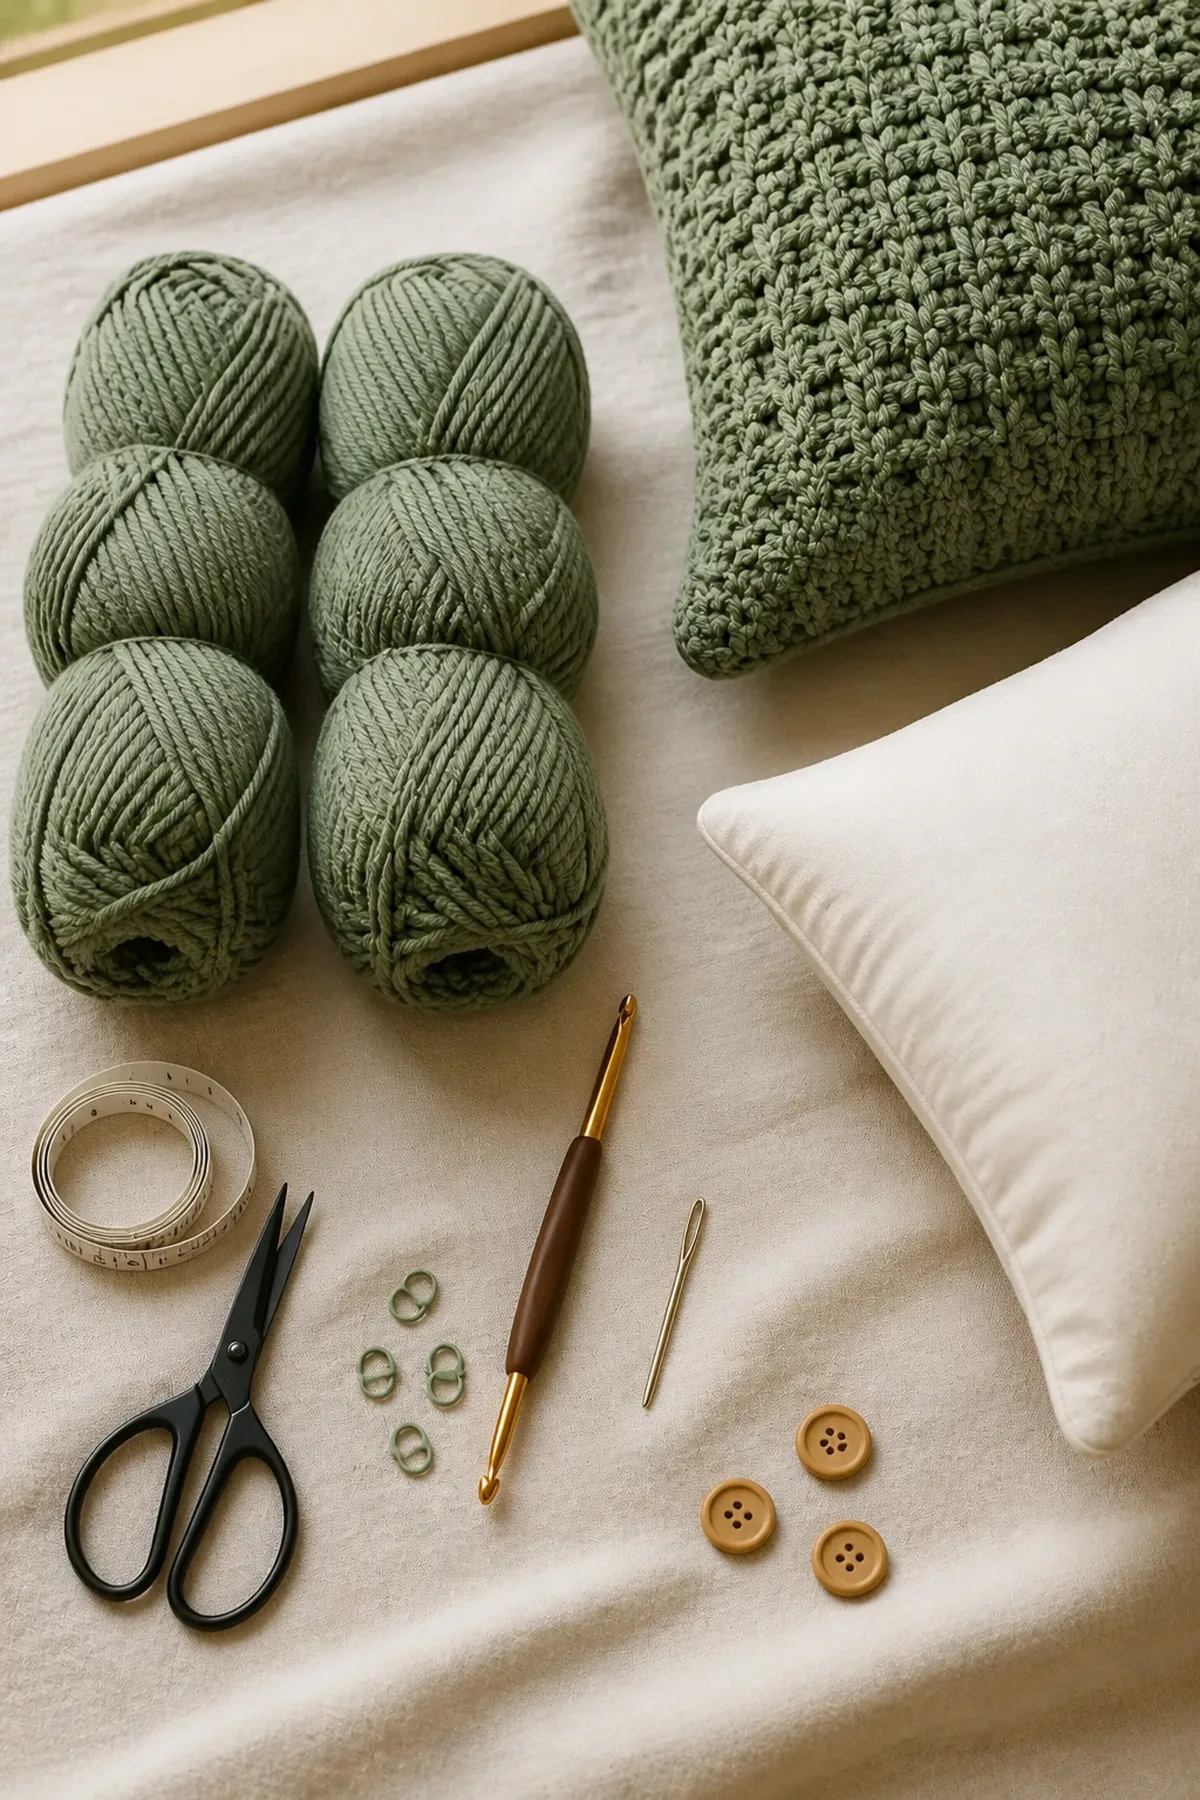
A smooth, plied yarn gives the strongest post definition. Very fuzzy yarn can soften the grid, while a highly variegated color may visually compete with the texture. Crochet and wash a small swatch if the cover must tolerate frequent cleaning.
Abbreviations and Special Stitches
- ch: chain
- dc: double crochet
- FPdc: front post double crochet
- sc: single crochet
- st(s): stitch(es)
Front post double crochet: Yarn over. Insert the hook from front to back and back to front around the post of the indicated stitch. Yarn over, pull up a loop, and complete the double crochet. The stitch projects toward you and forms one raised rib.
Before You Begin
The beginning chain two does not count as a stitch. Turn after every panel row and work the first counted stitch into the first available stitch. Place a marker in the first and last stitch while learning the pattern. Count sixty-two stitches before proceeding to the next row.
Complete Crochet Instructions
Row 1: Establish the Front Panel
Ch 64. Dc in the third chain from the hook and in each remaining chain. Ch 2 and turn; the chain does not count. (62 sts)
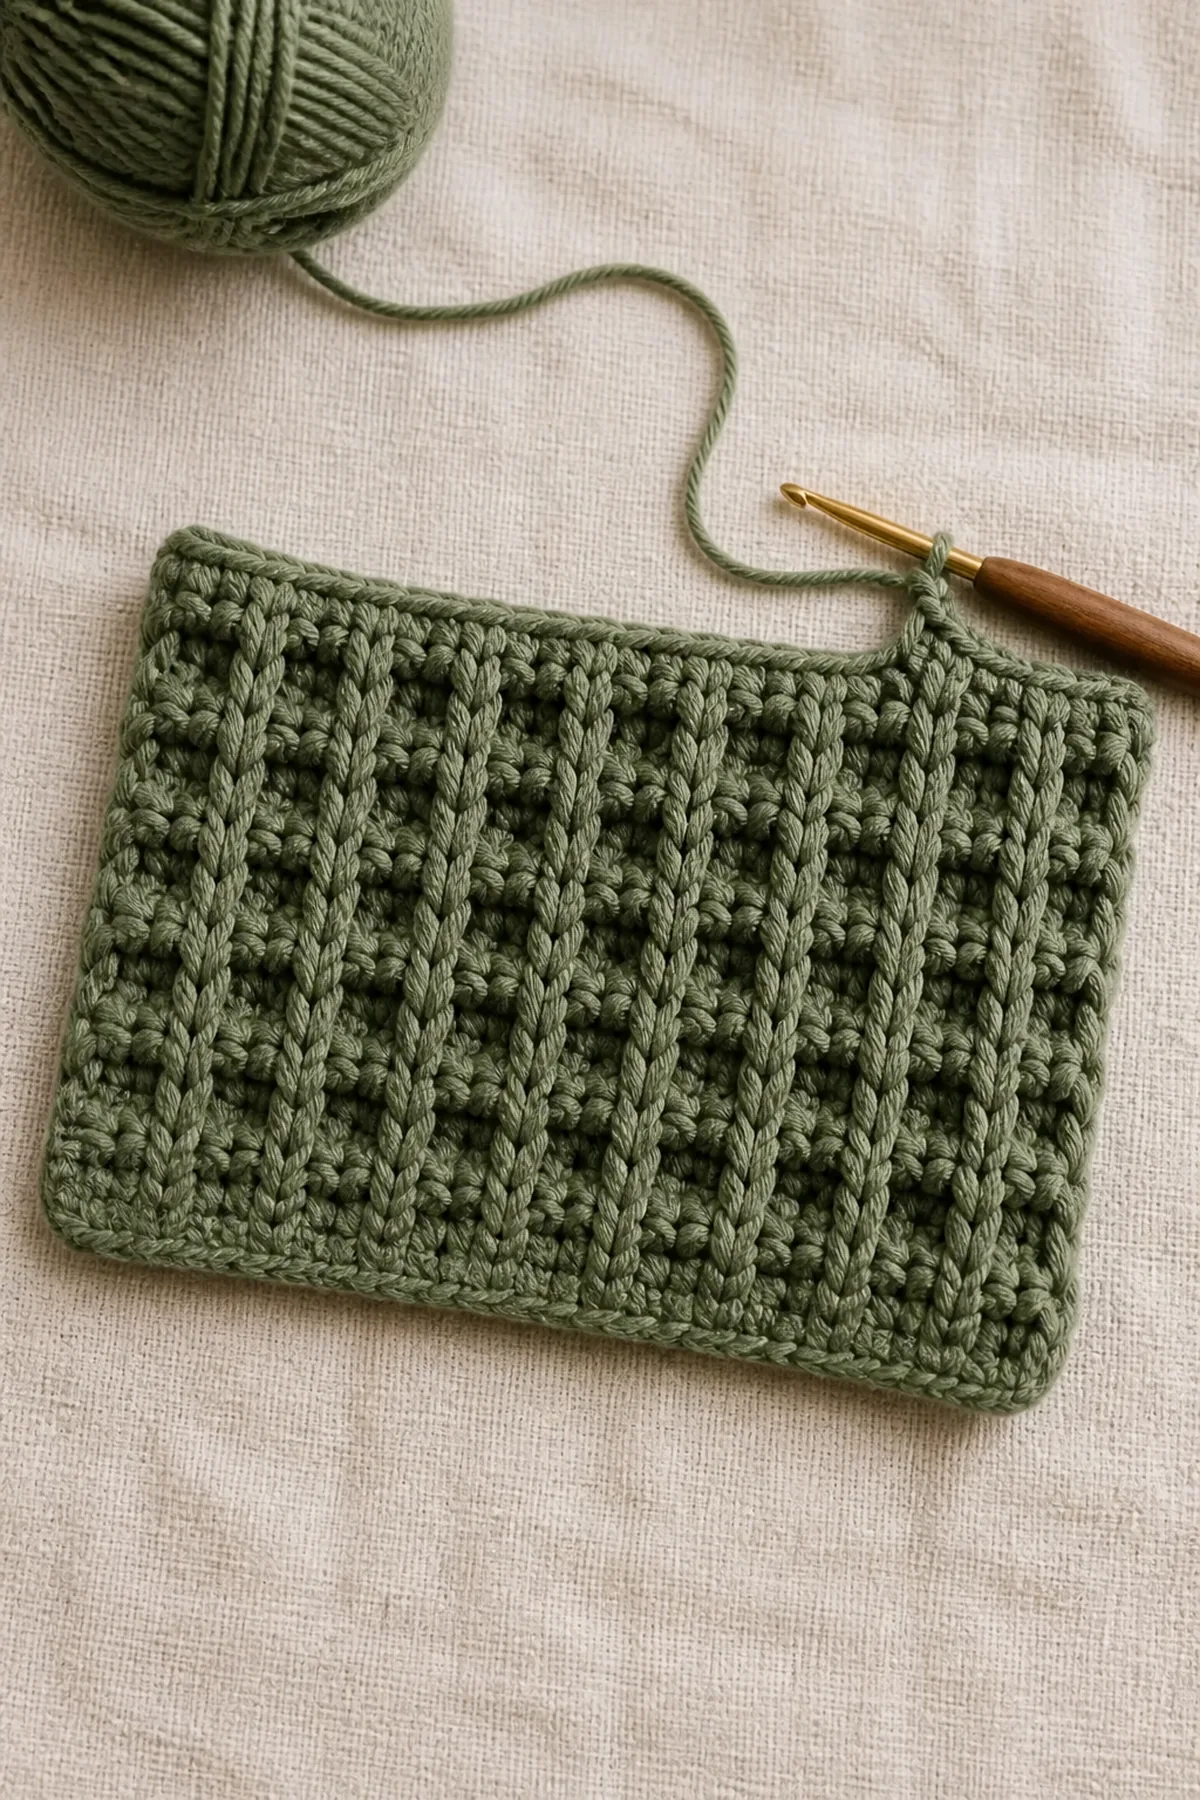
Lay the row flat without stretching. Sixty-two stitches provide twenty complete three-stitch waffle units plus two edge stitches. If the foundation curls tightly, remake it with a hook one size larger and return to the 5 mm hook for Row 1.
Rows 2–3: Form the First Waffle Grid
Row 2: Dc in the first 2 stitches. Repeat [FPdc around the next stitch, dc in the next 2 stitches] 20 times. Ch 2 and turn. (62 sts)
Row 3: Dc in the first stitch. Repeat [FPdc around the next 2 stitches, dc in the next stitch] 20 times. Dc in the final stitch. Ch 2 and turn. (62 sts)
Row 2 creates single raised posts separated by two ordinary double crochets. Row 3 raises pairs of posts. Alternating those placements surrounds each recessed square with four firm sides.
Rows 4–57: Repeat the Texture
Repeat Rows 2 and 3 twenty-seven times, ending after a Row 3 repeat. Do not make a turning chain after the final row. (62 sts)
Measure the front without pulling the ribs. It should be approximately 17 inches square after blocking. If your row gauge differs, finish after a complete Row 2 and Row 3 pair when the unblocked height closely matches the width.
Make the Envelope Back
For the lower back panel, ch 64 and work 62 dc per row for 25 rows. For the upper panel, repeat the same foundation and work 62 dc per row for 29 rows. The upper section is four rows longer and creates the overlap. Fasten off both panels with long enough tails for secure weaving.
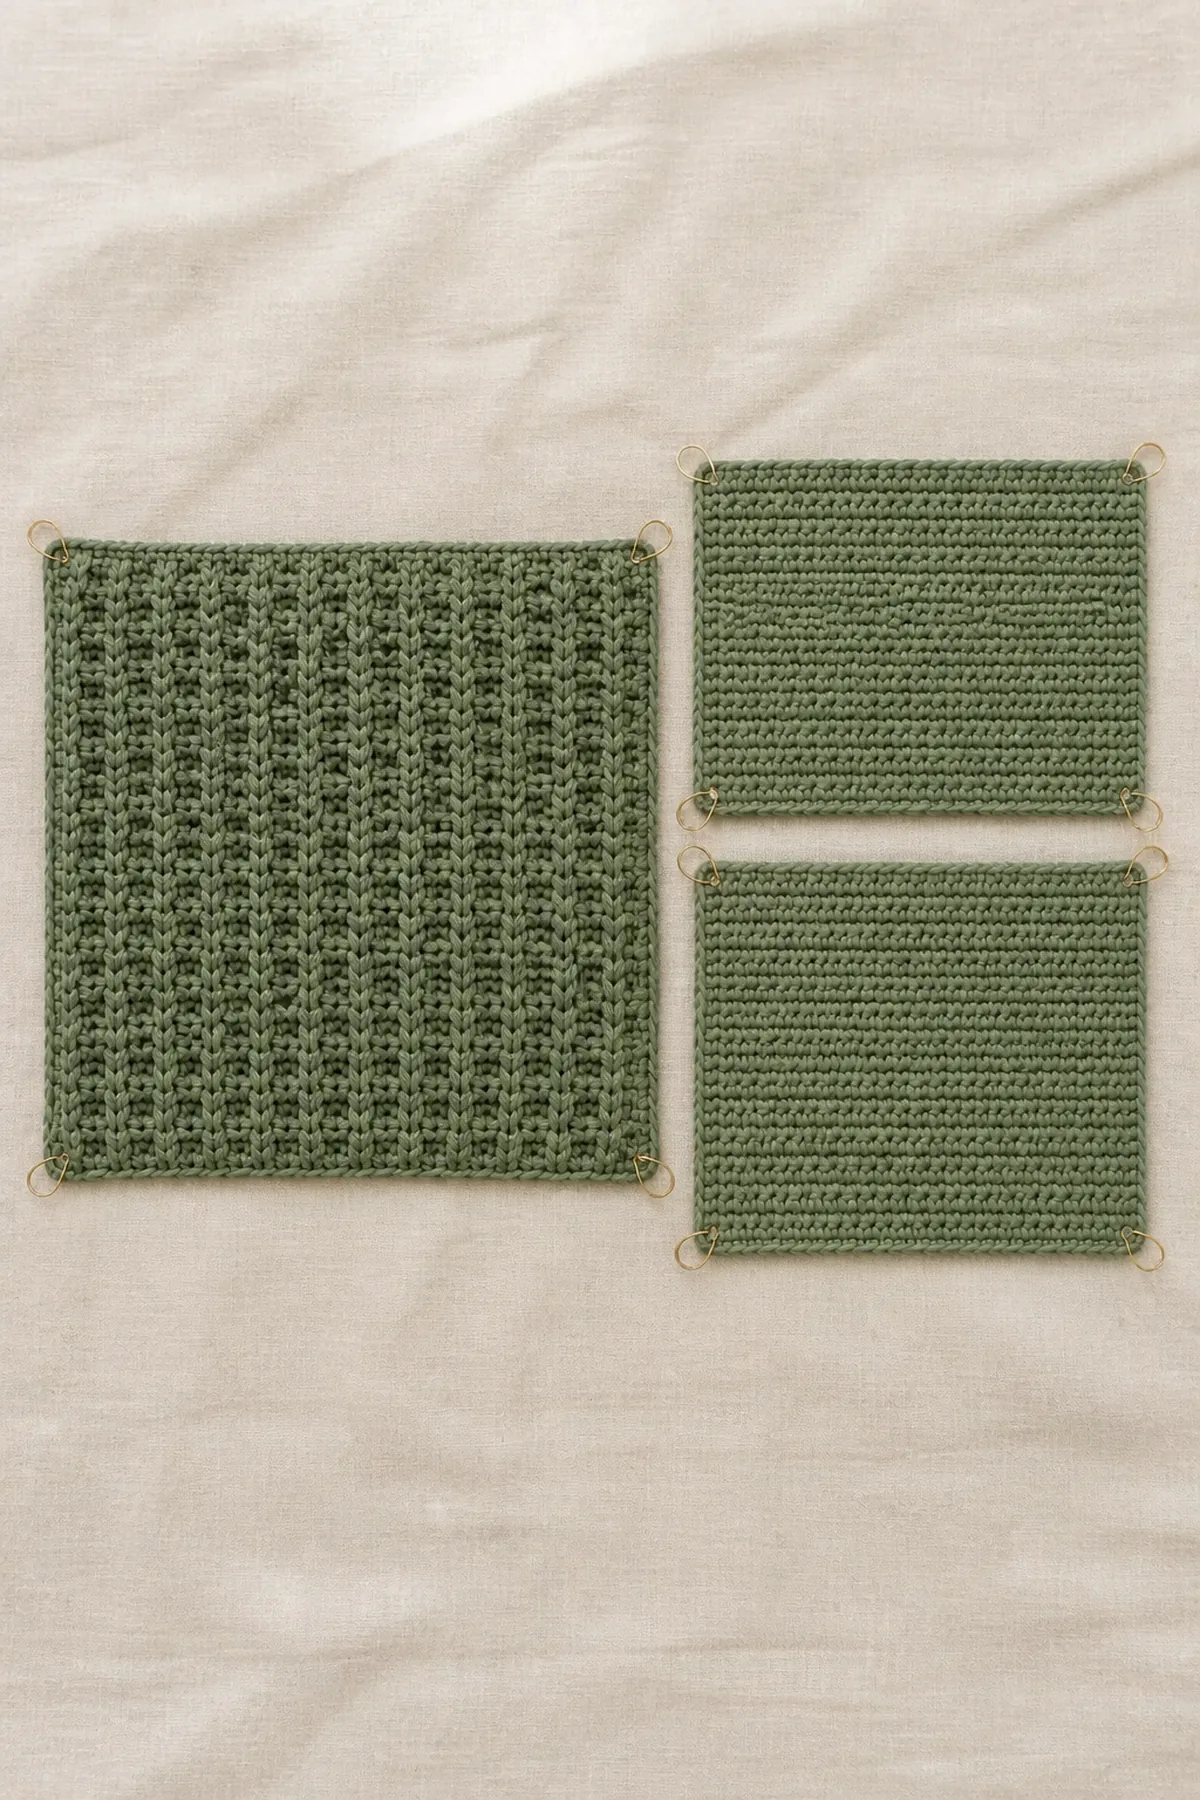
Block the front to 17 inches square. Block each back panel to the same width while preserving its natural height. Allow every piece to dry completely before stacking them.
Assemble the Cover
Place the front panel wrong-side up. Position the lower back with its bottom and side edges aligned to the front. Place the upper back with its top and sides aligned; it overlaps the lower panel across the center. Insert a locking marker through all layers at each corner.
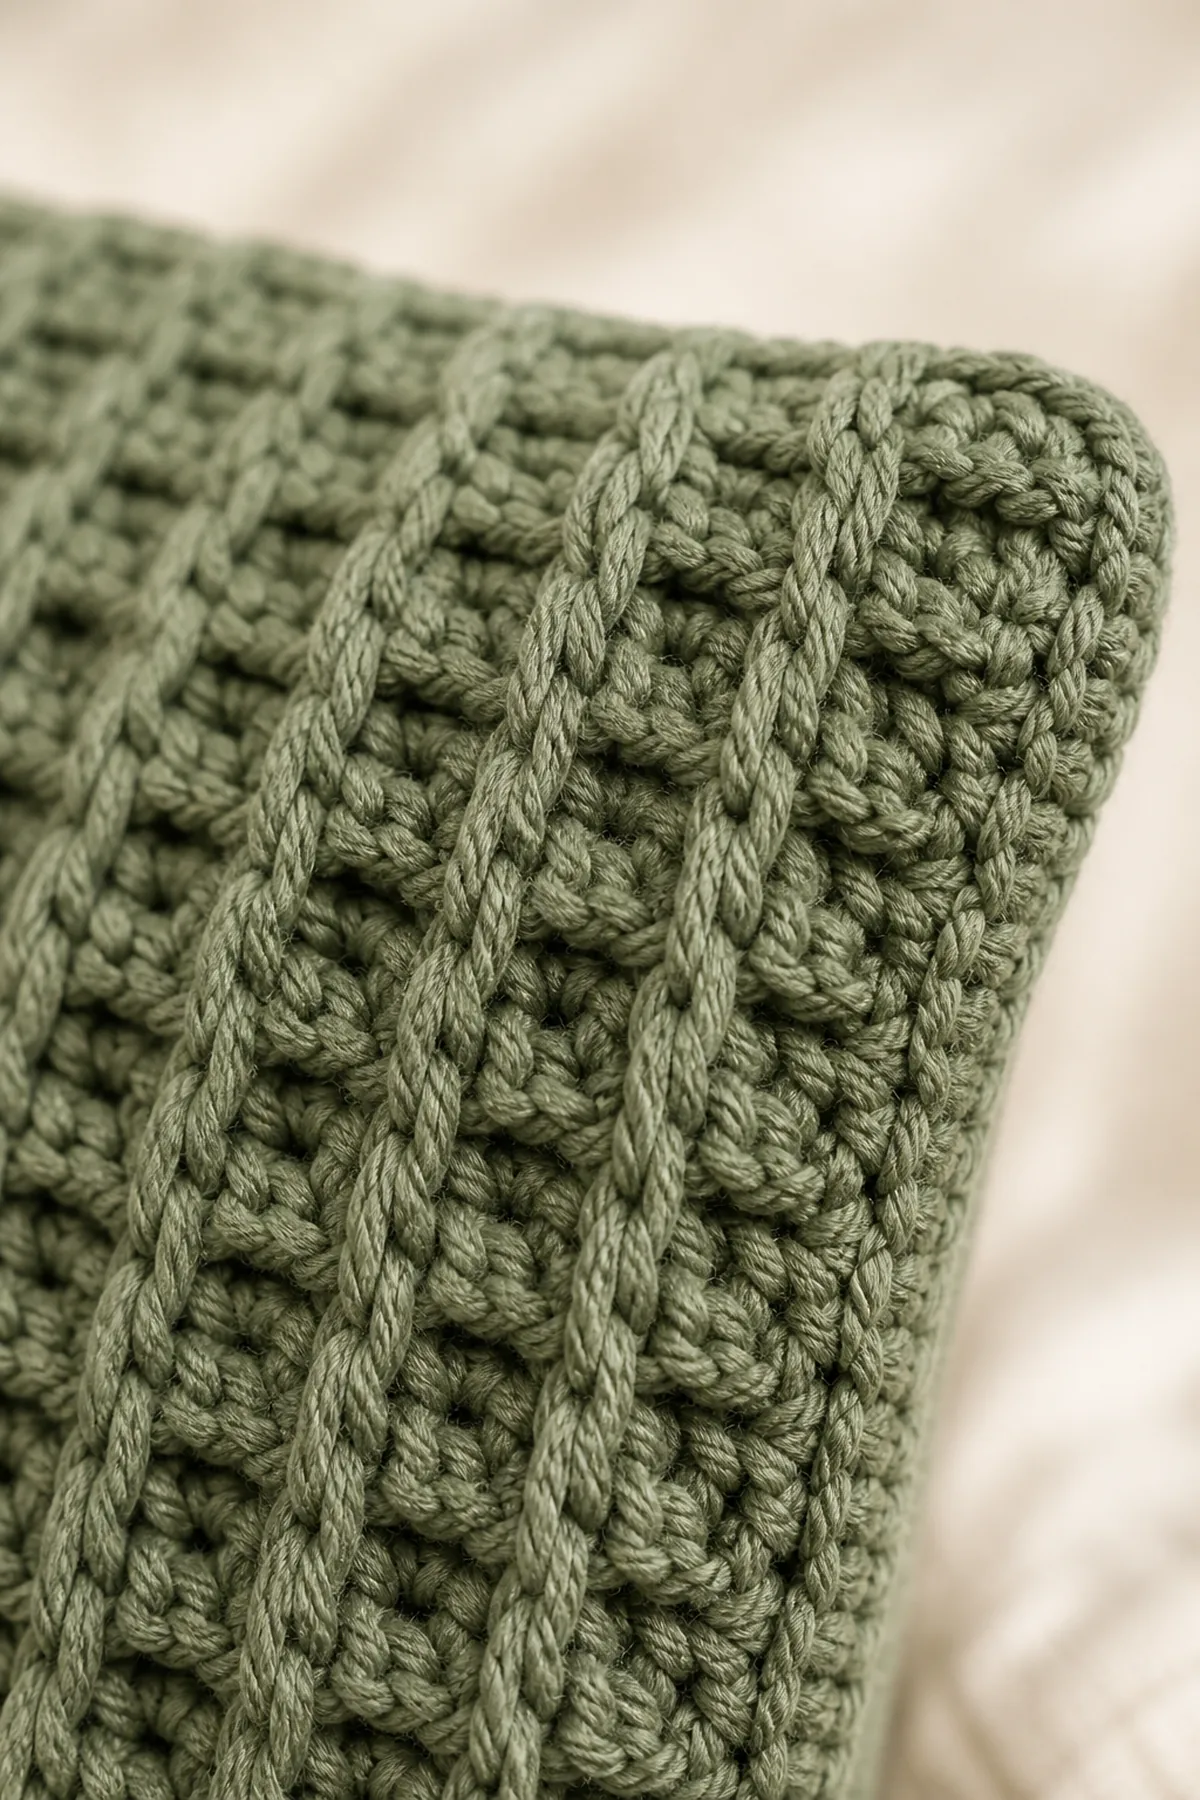
Join sage yarn at one corner. Work single crochet evenly through the front and corresponding back layer around the cover, placing three single crochets in each corner. Along the overlap, continue through the front and whichever back panel reaches that edge. Join, fasten off, and weave in the seam tail.
Finishing
- Inspect the complete seam and reinforce any loose section with matching yarn.
- Turn the cover right-side out through the envelope opening.
- Push out each corner gently with your fingers.
- Insert the pillow form beneath the lower flap and then the upper flap.
- Smooth the waffle front without flattening the raised ribs.
Helpful Tips
- Protect the count: Every front-panel row contains sixty-two stitches.
- Find the post: FPdc goes around the vertical post, never into the top loops.
- Relax raised stitches: A comfortable loop height prevents the panel from narrowing.
- Block first: Waffle texture contracts more than plain double crochet.
- Check the overlap: Four extra upper-back rows keep the insert hidden.
Frequently Asked Questions
Can I make another pillow size?
Yes. Use a front stitch count equal to a multiple of three plus two and continue complete two-row repeats until the blocked front is square.
Why does my waffle stitch look flat?
Confirm that each raised stitch wraps around the post from the front. Gentle blocking opens the recessed squares and straightens the surrounding ribs.
Can I use cotton yarn?
Yes. Cotton produces crisp texture and a heavier cover. Work a gauge swatch because it may create a wider panel than an acrylic or wool blend.
Does the cover need buttons?
No. The overlapping back holds the insert securely. Decorative buttons are optional and should be sewn through reinforced stitches.
Printable Waffle Stitch Pillow Card
Size: 16 in insert. Hook: 5 mm. Front count: 62 stitches.
- Ch 64; work 62 dc for Row 1.
- Row 2: dc 2, repeat [FPdc 1, dc 2] twenty times.
- Row 3: dc 1, repeat [FPdc 2, dc 1] twenty times, dc last.
- Repeat Rows 2–3 through Row 57.
- Make 62-stitch back panels of 25 and 29 rows.
- Block, overlap backs, single crochet around all edges, and insert the pillow form.
Conclusion
With two repeating texture rows and a simple envelope back, this easy crochet waffle stitch throw pillow delivers an impressive finish without complicated shaping. Accurate counts and patient blocking preserve the square grid, while the removable cover makes the project practical for everyday home use.